 NX Remote Play
Android app
Join your Switch, use touch buttons or a controller, and every setting.
The Android app plays your Switch on a phone or tablet, with touch buttons on the screen or a real controller. It connects over the internet with your Switch’s Session ID and Password. This page follows the app from opening it to its settings.
Open the app
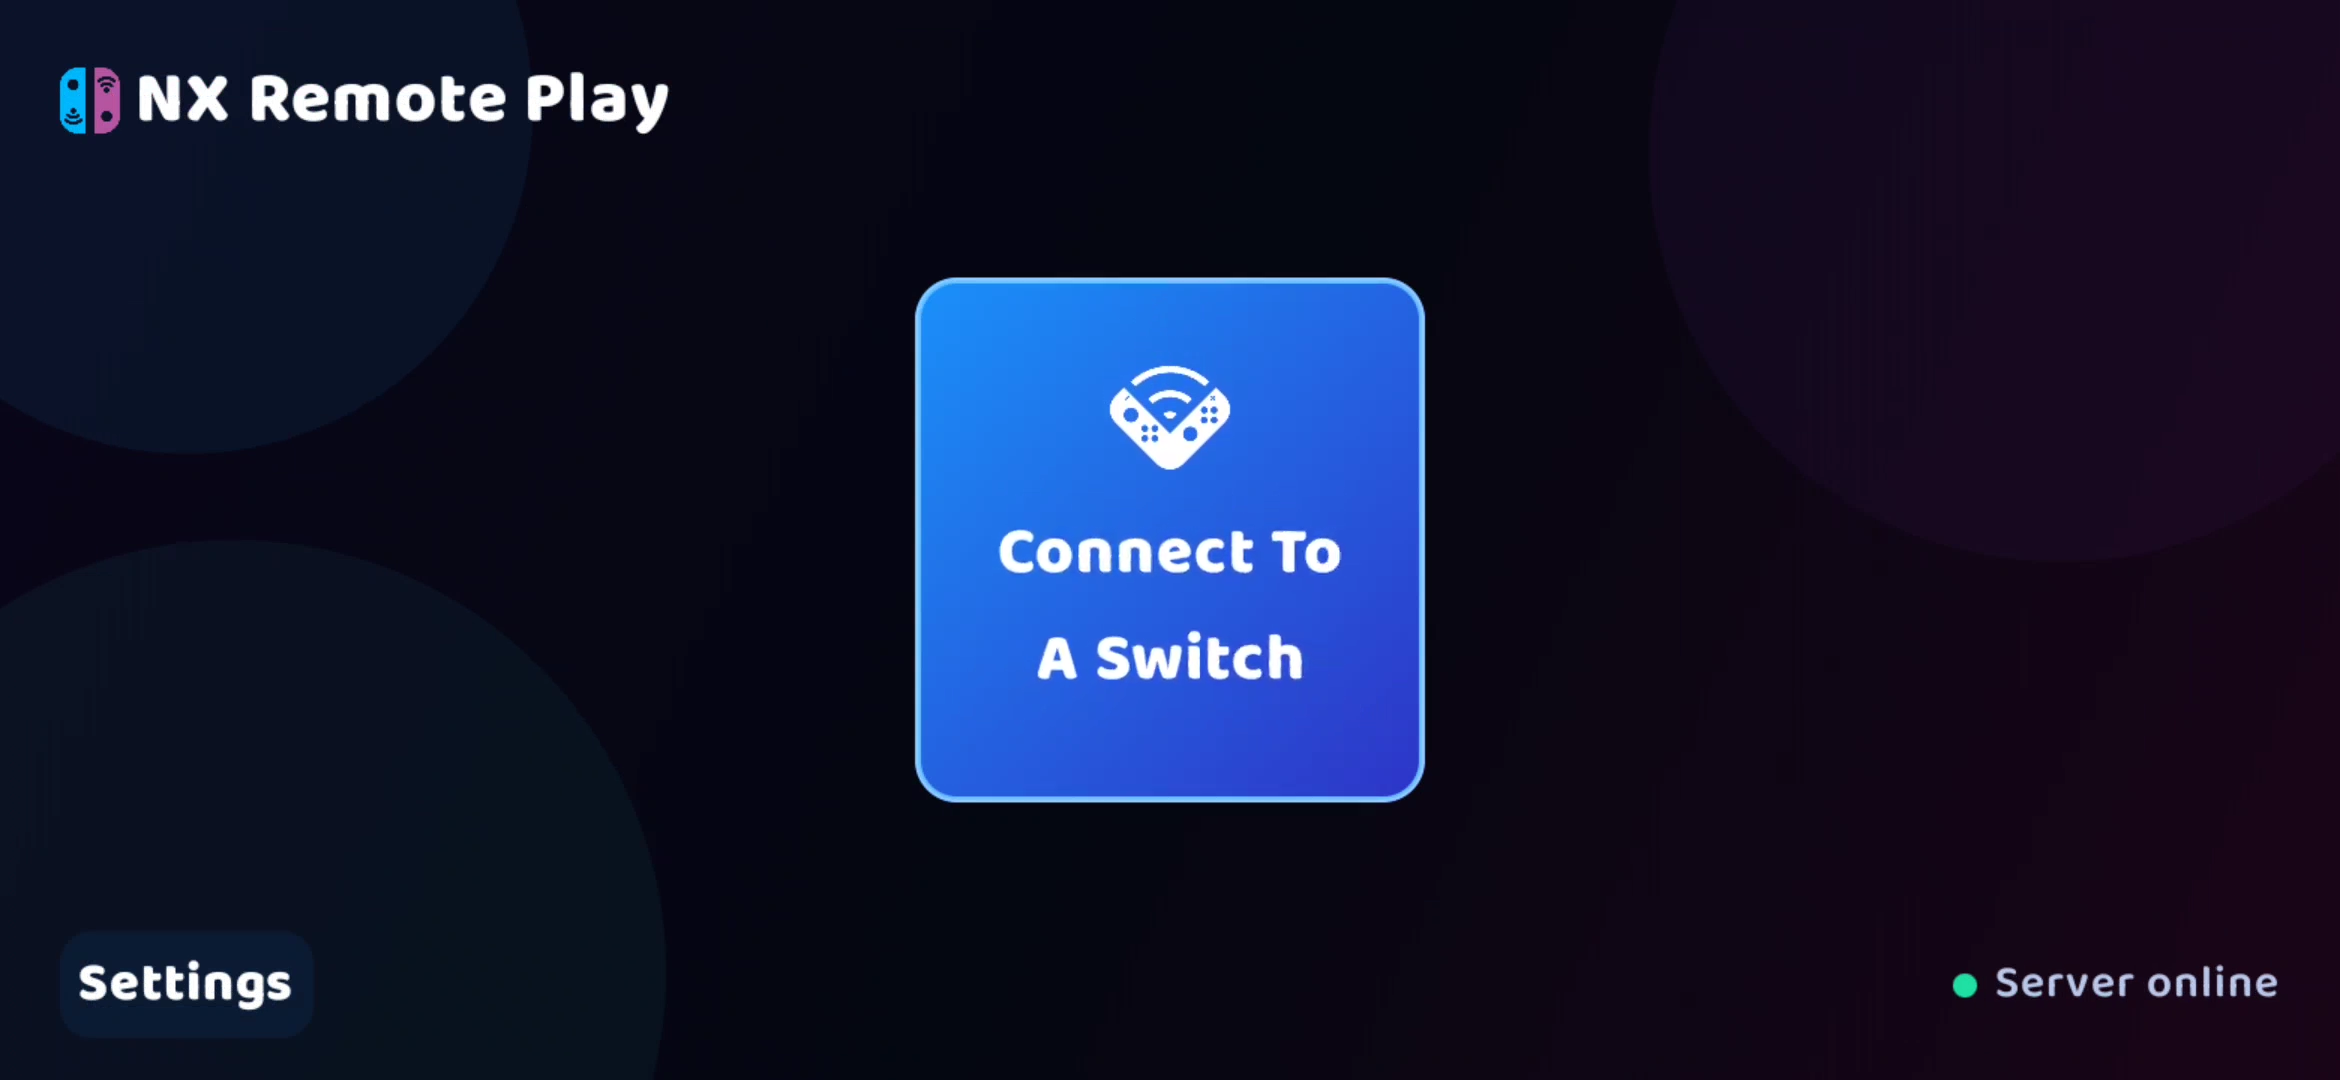
Install the app from the Android folder of the package, open NX Remote Play, and turn your phone sideways. The start screen has one card, Connect To A Switch, and a Settings button.
The bottom of the screen says Server online when the app can reach the connection server. That only means the server is reachable. It doesn’t mean your Switch is ready.
Join your Switch
- On the Switch, turn on hosting and find its Session ID and Password. The Switch page of this wiki shows how.
- On your phone, tap Connect To A Switch.
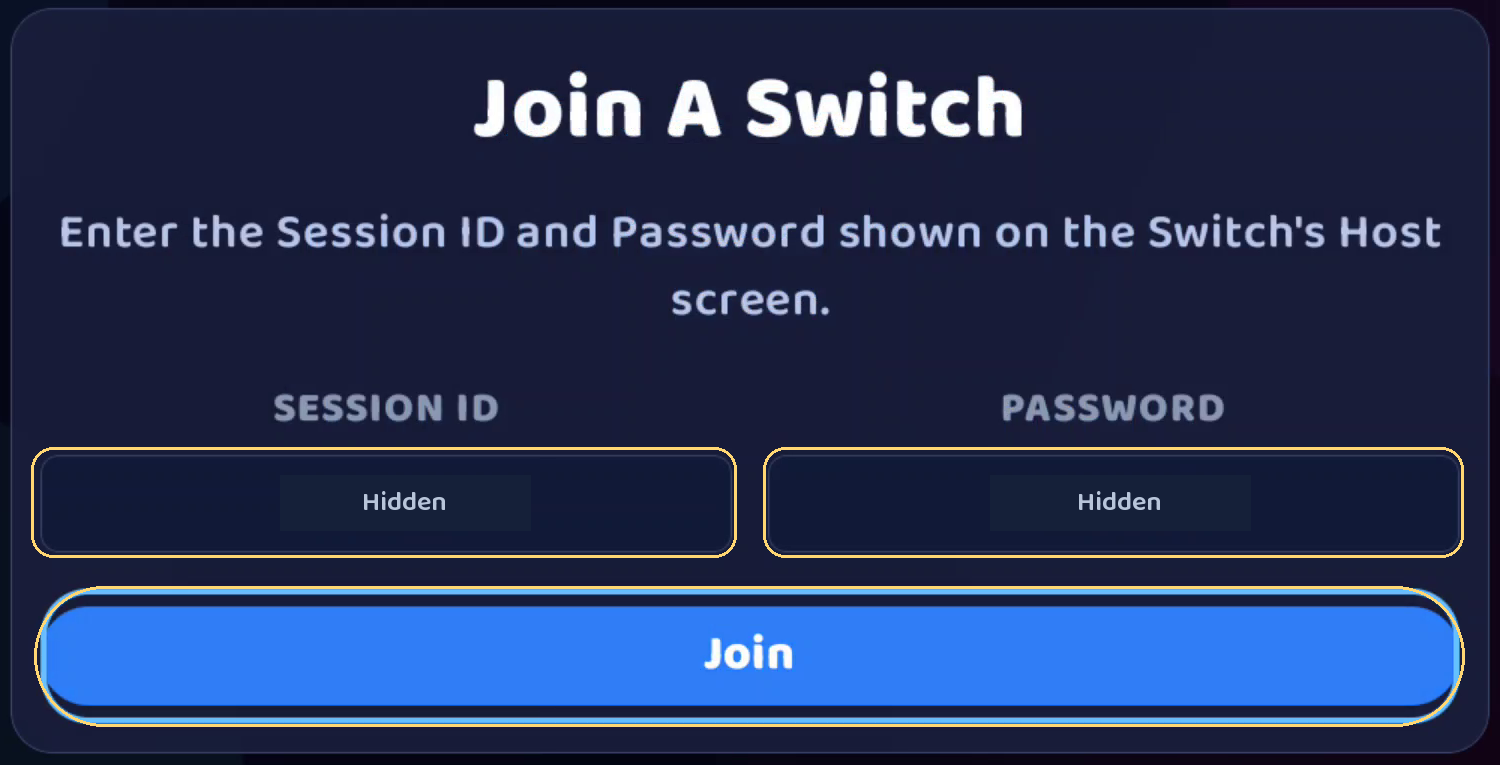
- Tap SESSION ID, type the code with the app’s keyboard, and tap Done. Do the same for PASSWORD.
- Tap Join. The status shows Contacting the server..., then Opening a direct connection..., then Connected.
- The Switch’s screen appears with touch buttons over it.
The app remembers the last codes you used, so next time you only need to tap Join. If Join can’t be tapped, check that both codes are filled in.
Play
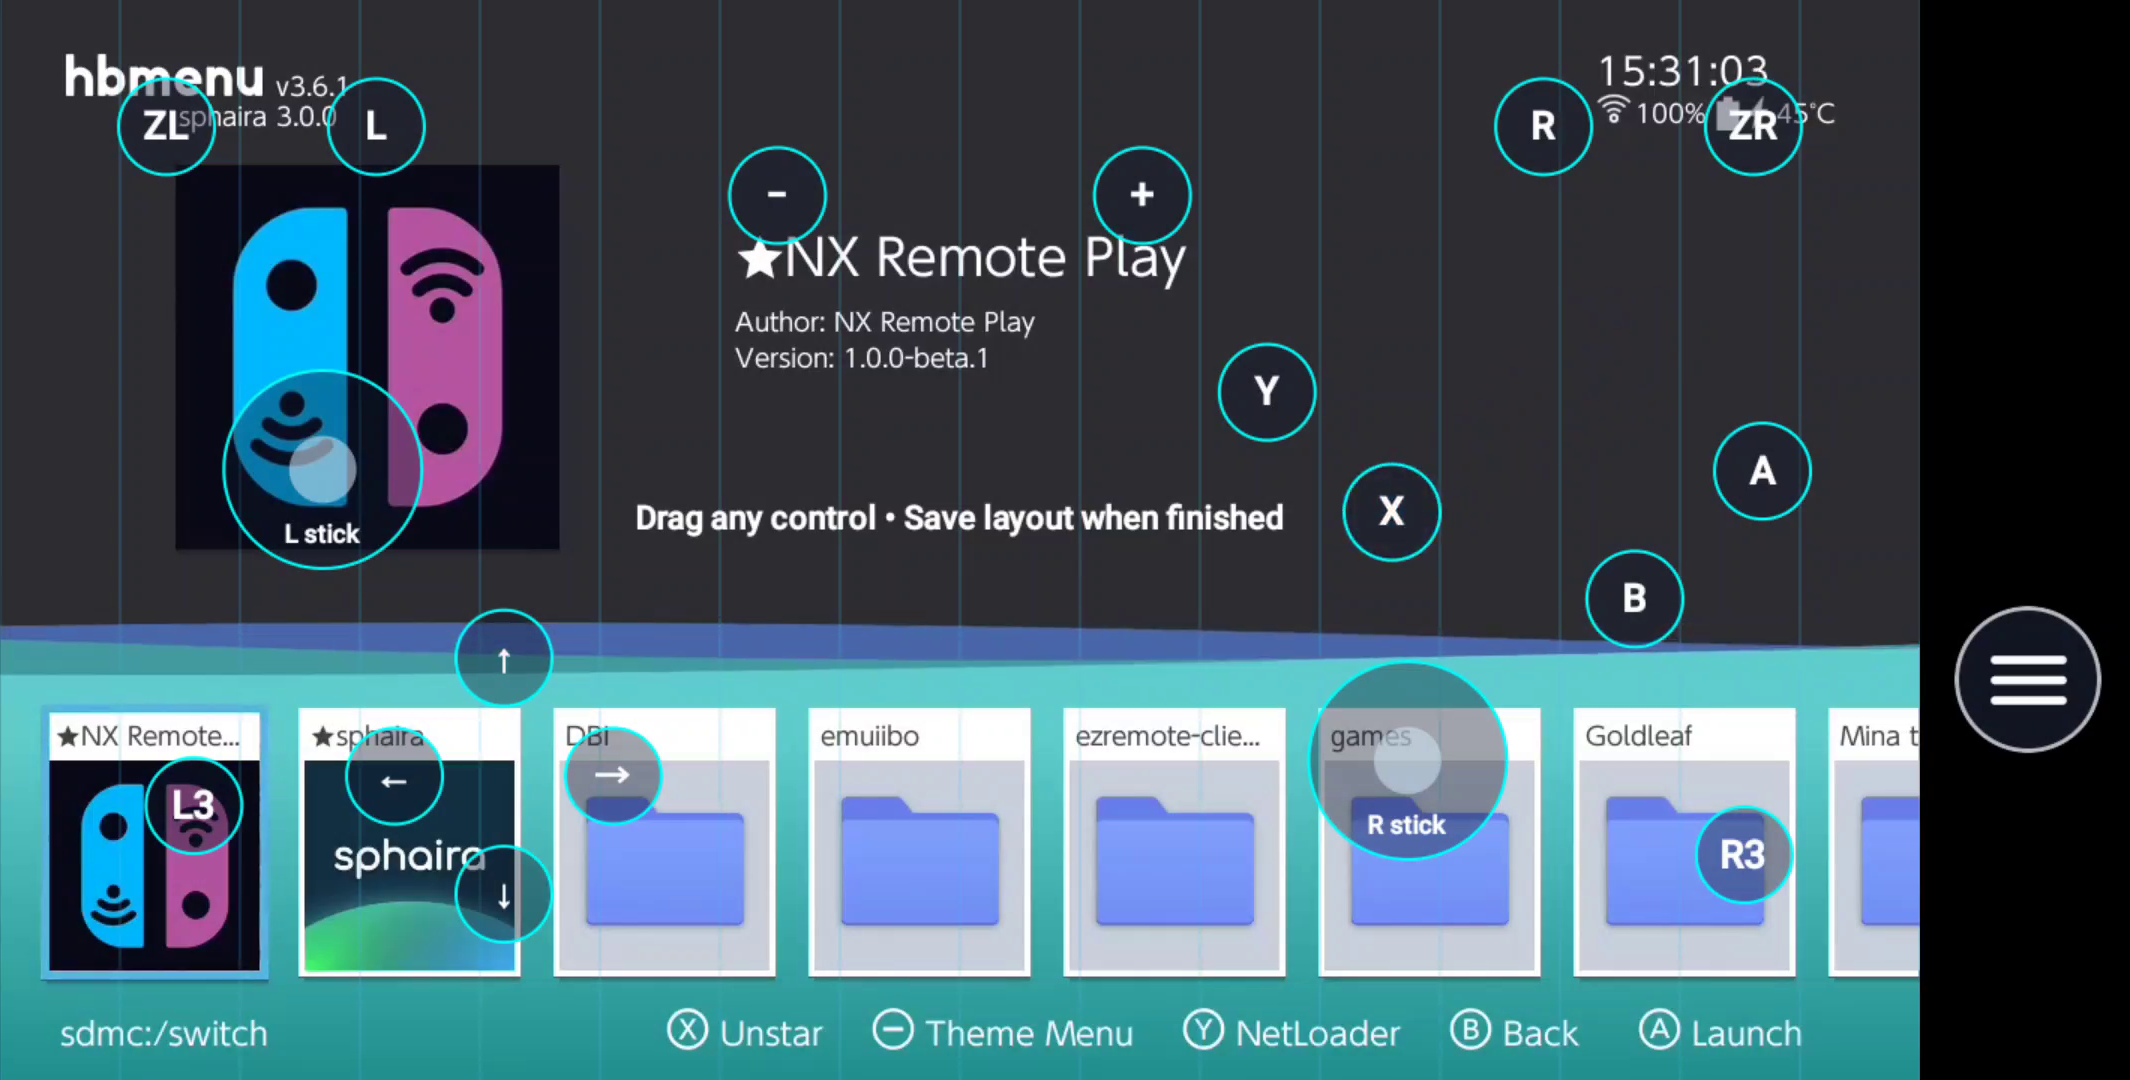
The touch buttons match a Switch controller: two sticks, the arrow buttons, A, B, X, Y, L, R, ZL, ZR, − and +, plus L3 and R3 for pressing the sticks in. Drag a stick to move it. A real controller paired with your phone (by Bluetooth or USB) works too. Press any button on it to start using it.
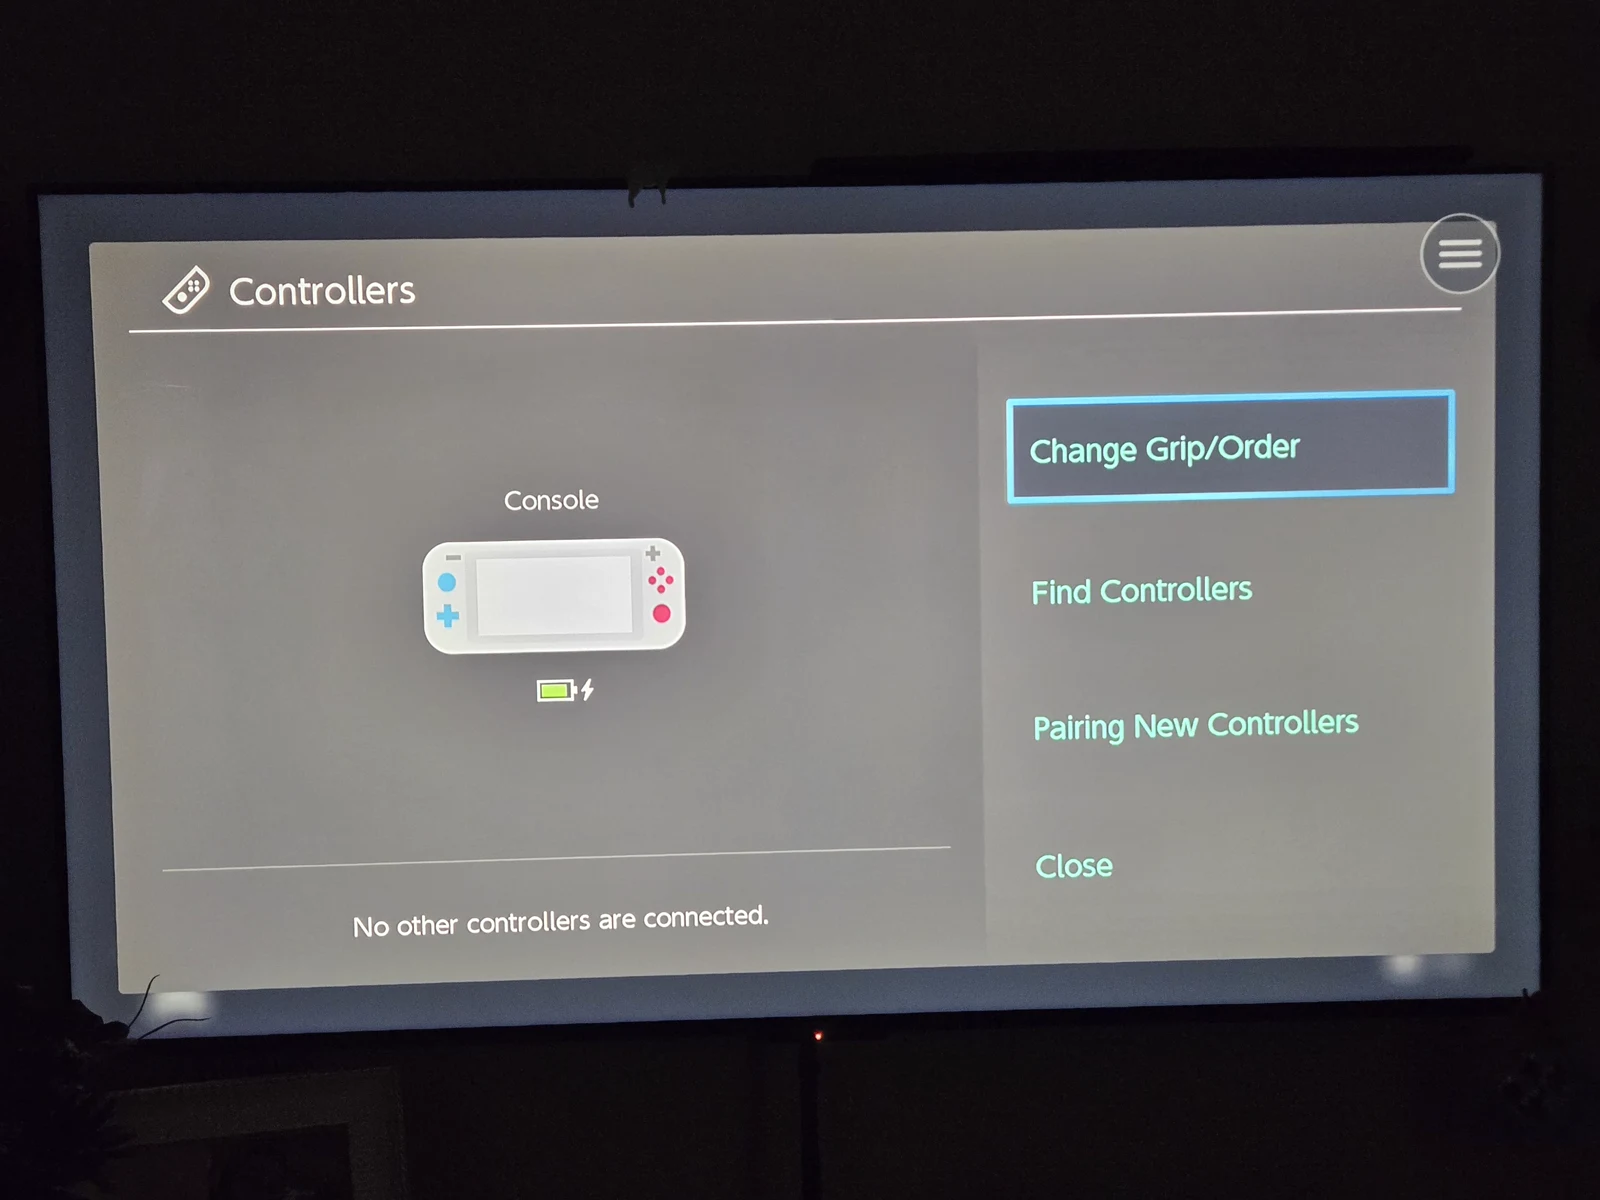
If the Switch doesn’t react to your buttons, it may not have noticed your phone’s controller yet. On the Switch, open Controllers → Change Grip/Order. On your phone, hold L and R together. When your controller appears, tap A.
Play on a TV
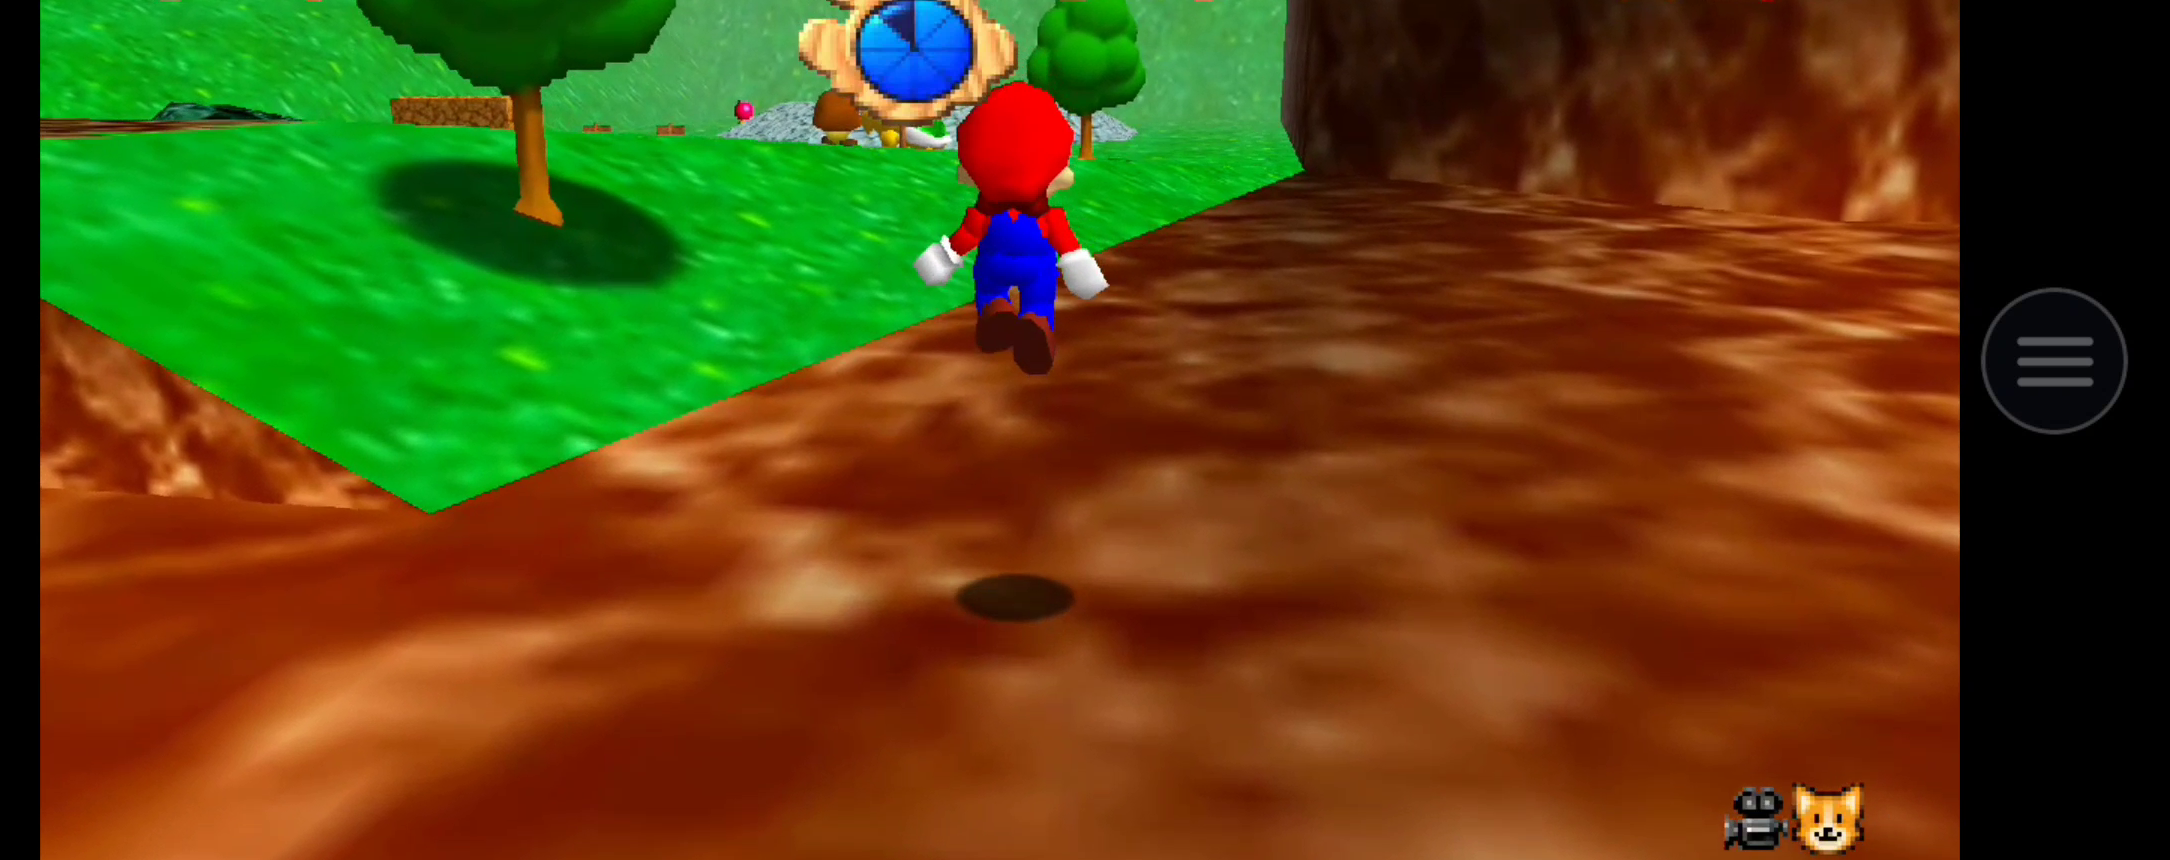
The Android app also runs on Android TV and Google TV, so you can play your Switch on a big screen. Install it on the TV the same way as on a phone, and pair a Bluetooth controller with the TV. Then join with your Switch’s Session ID and Password as usual.
This works well with a Switch Lite. The Lite can’t be docked or connected to a TV, but with NX Remote Play it can sit nearby on its charger while the game plays on the TV. It works almost like a docked Switch.
The first time, the Switch may not have noticed the TV’s controller yet. Open Controllers → Change Grip/Order, using the Switch’s own buttons or the ☰ menu’s Home, and press L and R together on the controller.
The ☰ menu
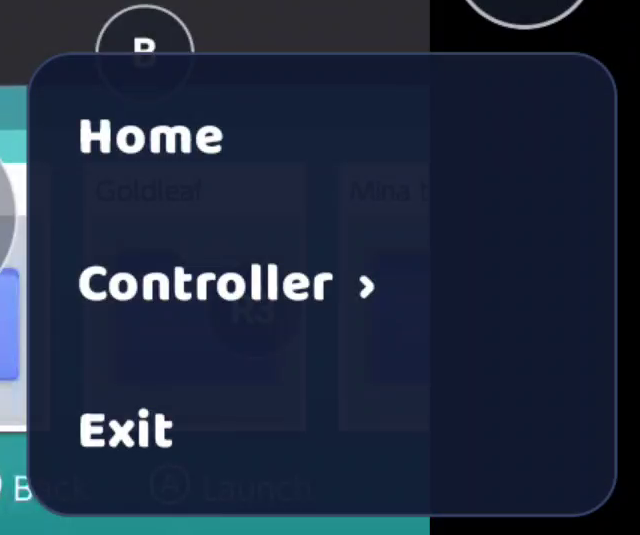
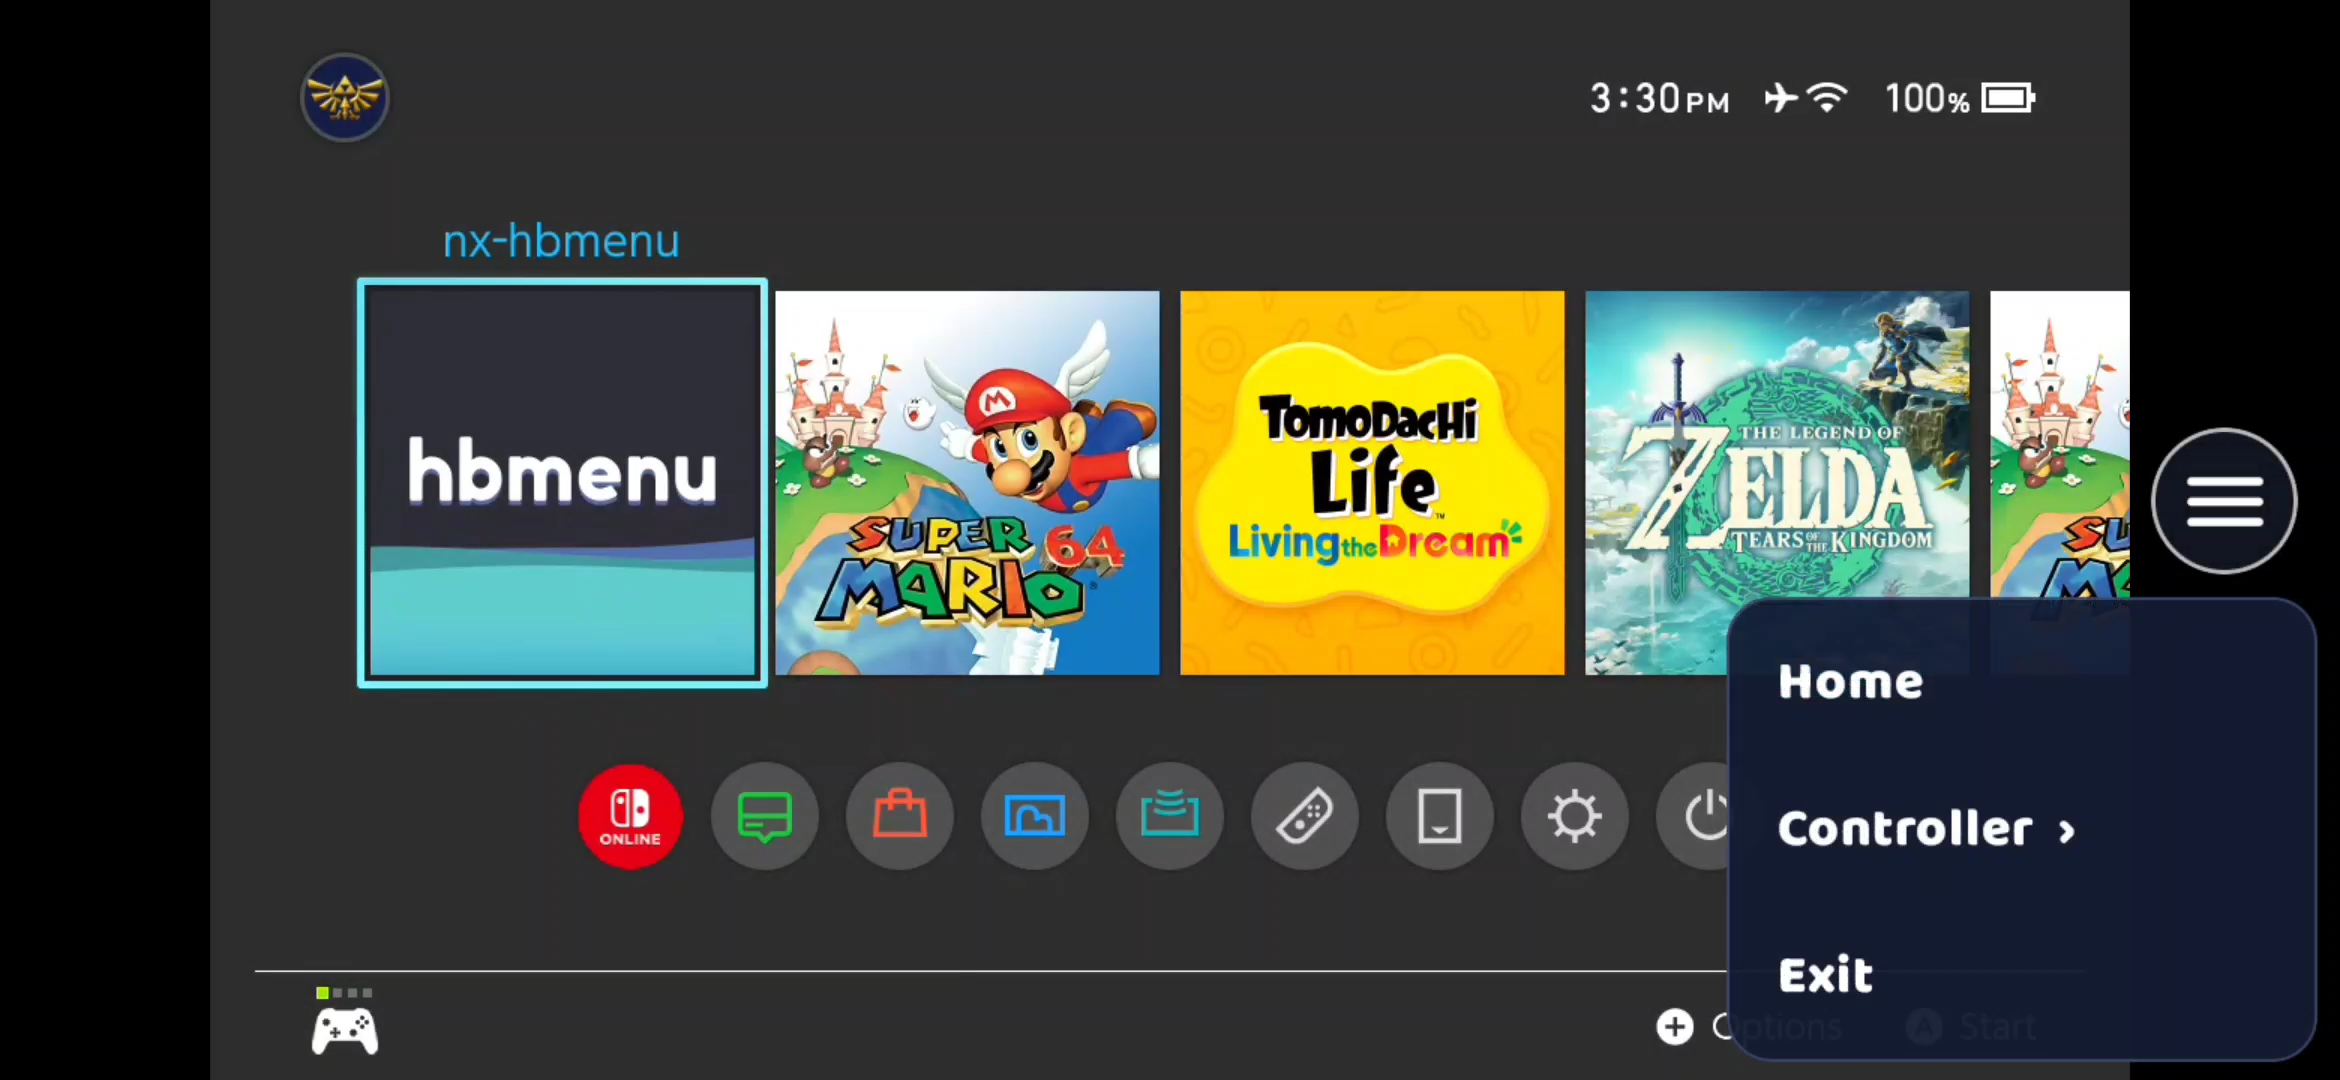
The floating circle with three lines is the stream menu. Tap it to open it. It has three items:
- Home presses HOME on the Switch.
- Controller opens the touch-button options, described in the next section.
- Exit ends the session and goes back to the start screen.
Drag the circle wherever it’s out of your way, and the app remembers the spot. It fades when you’re not using it and stays even when the touch buttons are hidden. Tap outside an open menu to close it.
Arrange the touch buttons
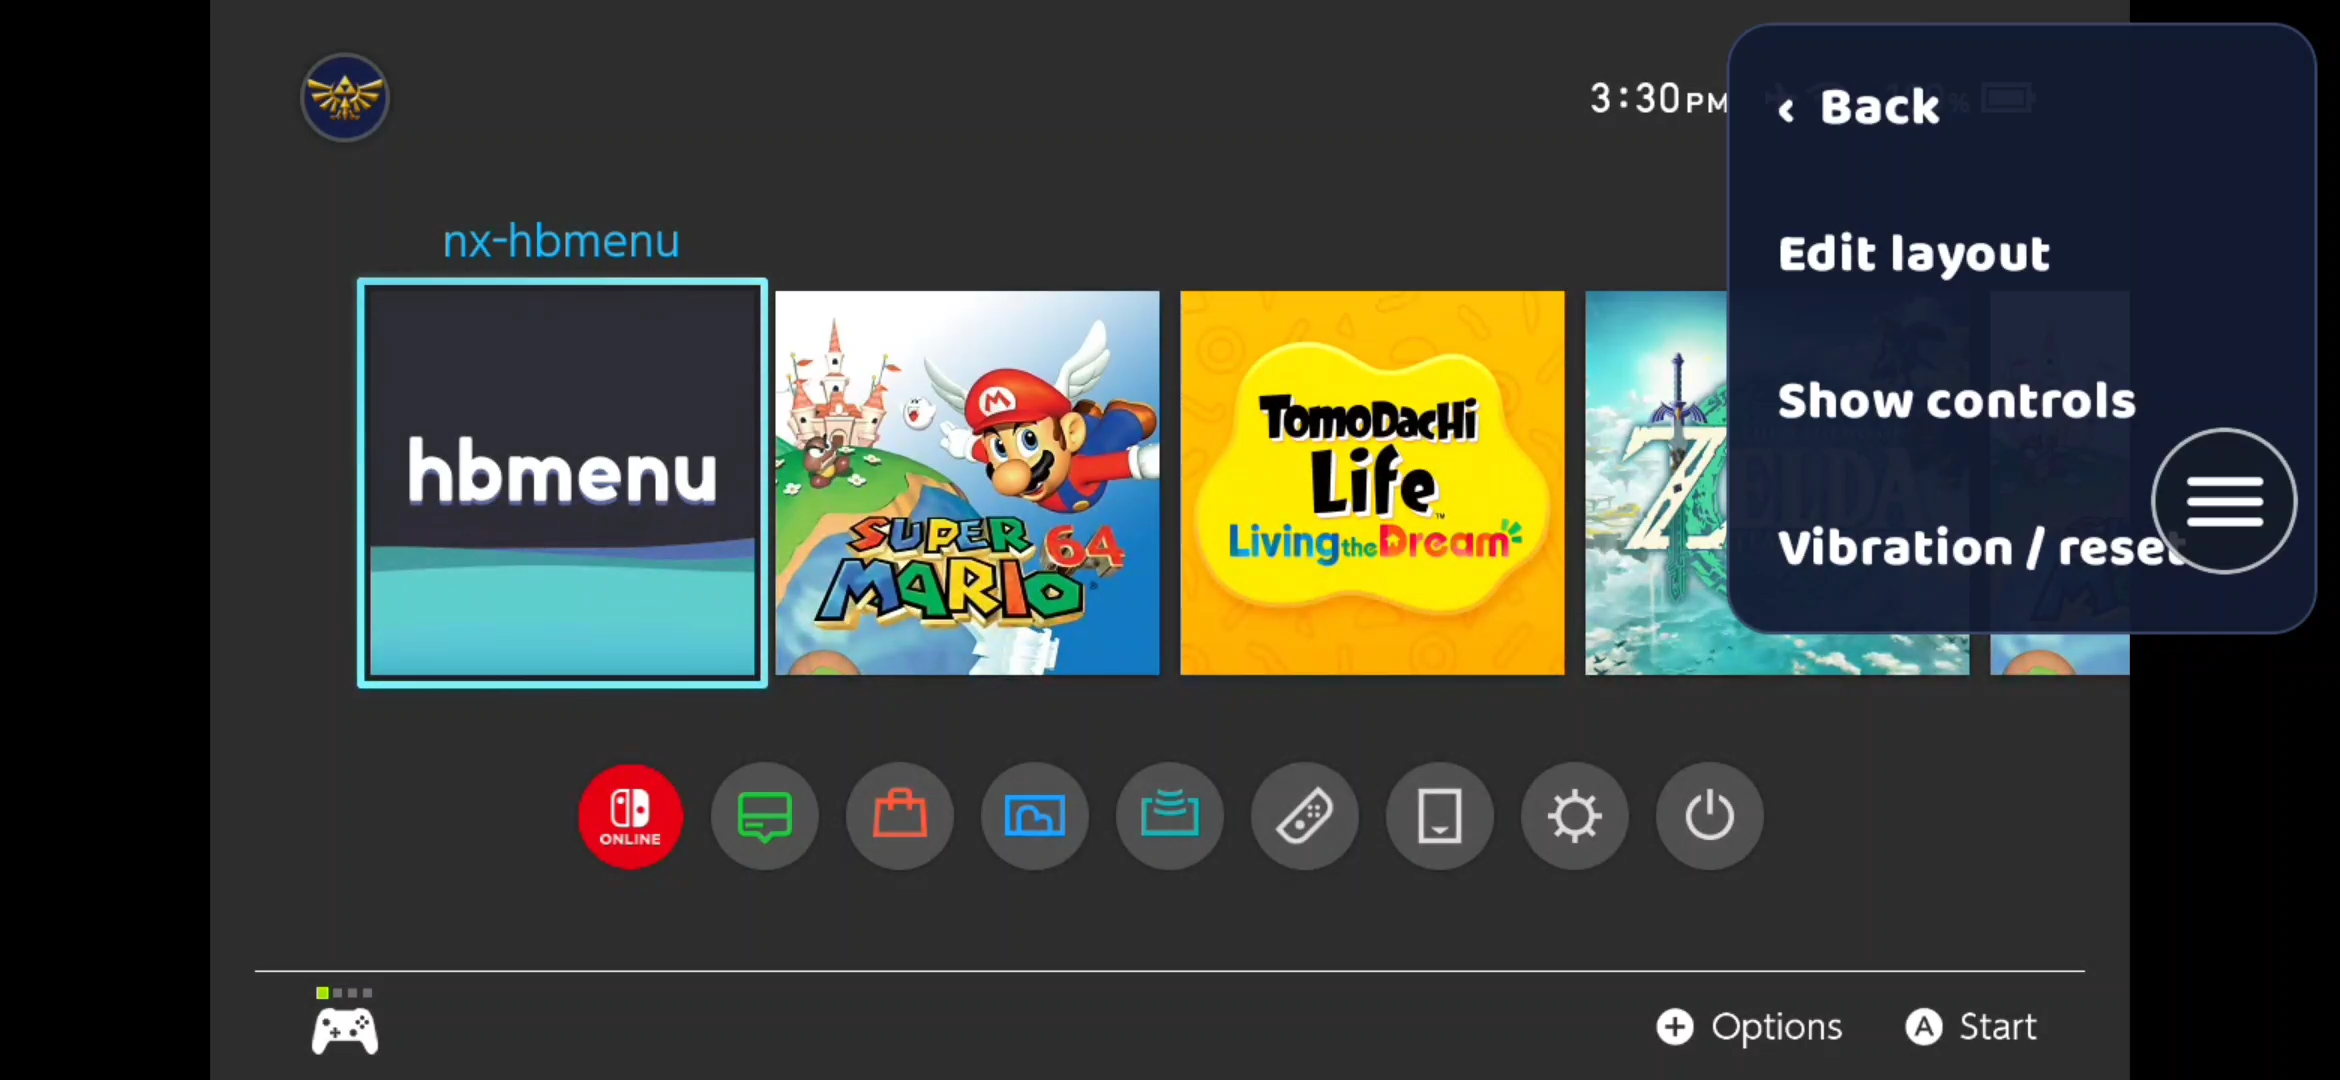
Open ☰ → Controller:
- Edit layout: drag any button to a new spot. When you’re happy, open ☰ → Controller → Save layout.
- Hide controls and Show controls: hide the buttons for a clear picture, or bring them back. Useful with a real controller.
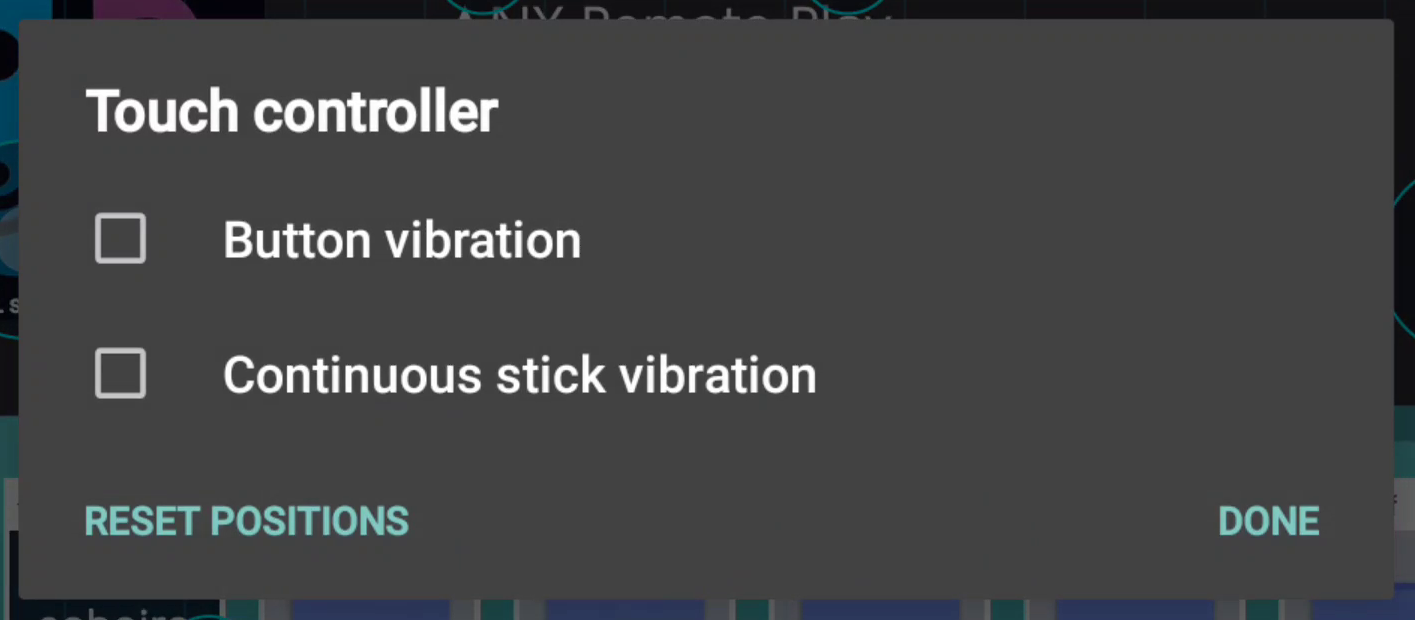
- Vibration / reset: turn Button vibration (a buzz on each press) and Continuous stick vibration (a buzz while a stick is held away from the middle) on or off. Reset positions puts every button back where it started. Done closes it.
You can also arrange the buttons before joining, from Settings → Controller → Touch controls.
All settings
Tap Settings on the start screen. If you’re playing, use ☰ → Exit first. Settings has four groups, listed here in the app’s order. You can play without changing any of them.
Connection
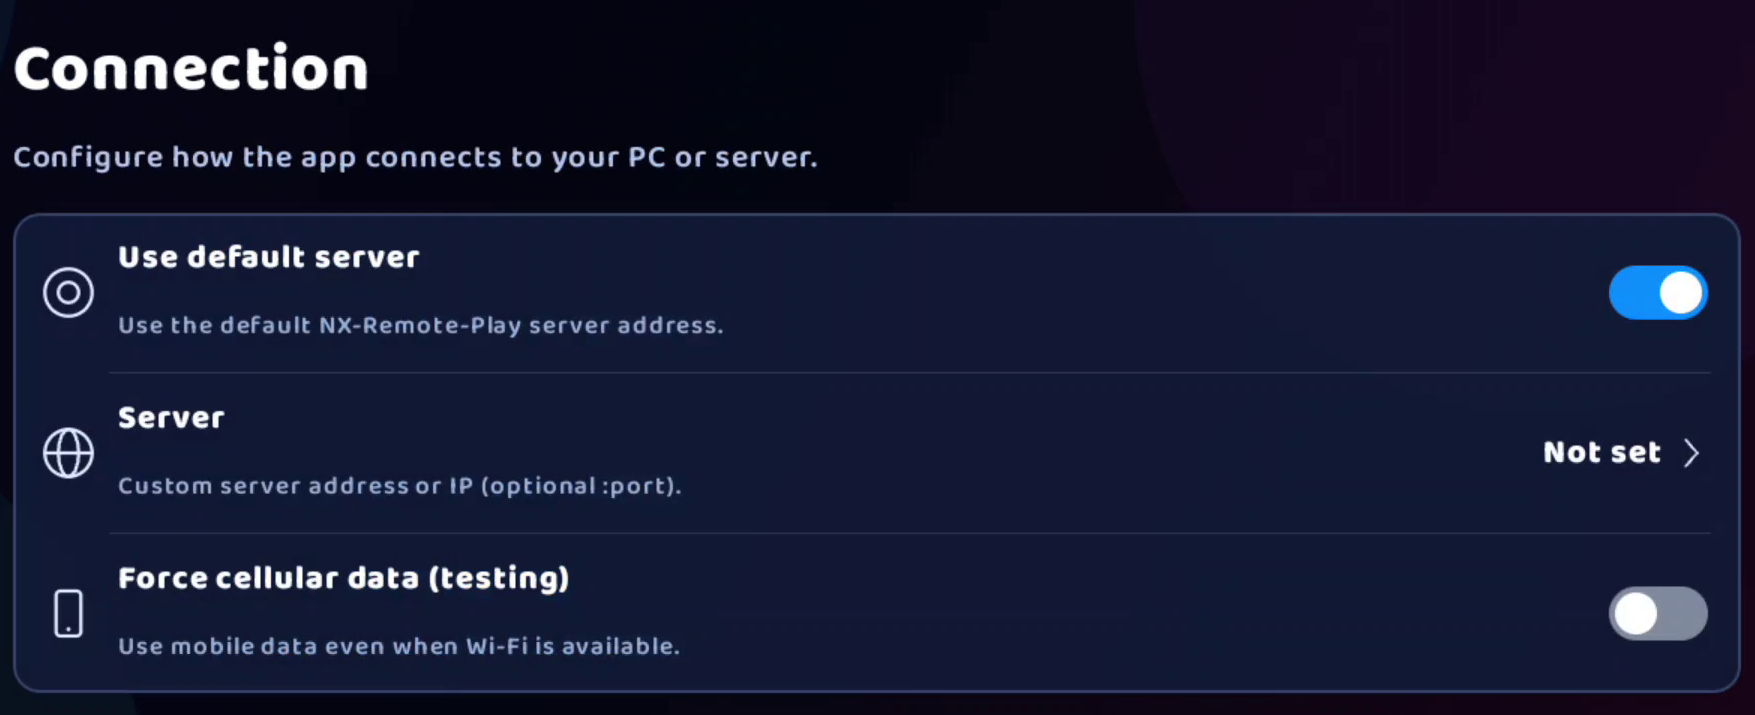
- Use default server: connects through the normal NX Remote Play server. Leave it on.
- Server: only for people who run their own server. Type its address and choose Save. The Switch must use the same server.
- Force cellular data (testing): uses mobile data even when Wi-Fi is on. Your phone plan’s data charges apply.
Controller
- Touch controls: arrange the touch buttons before you join.
- Button vibration, Continuous stick vibration and Reset positions: the same options as Vibration / reset in the ☰ menu.
Testing
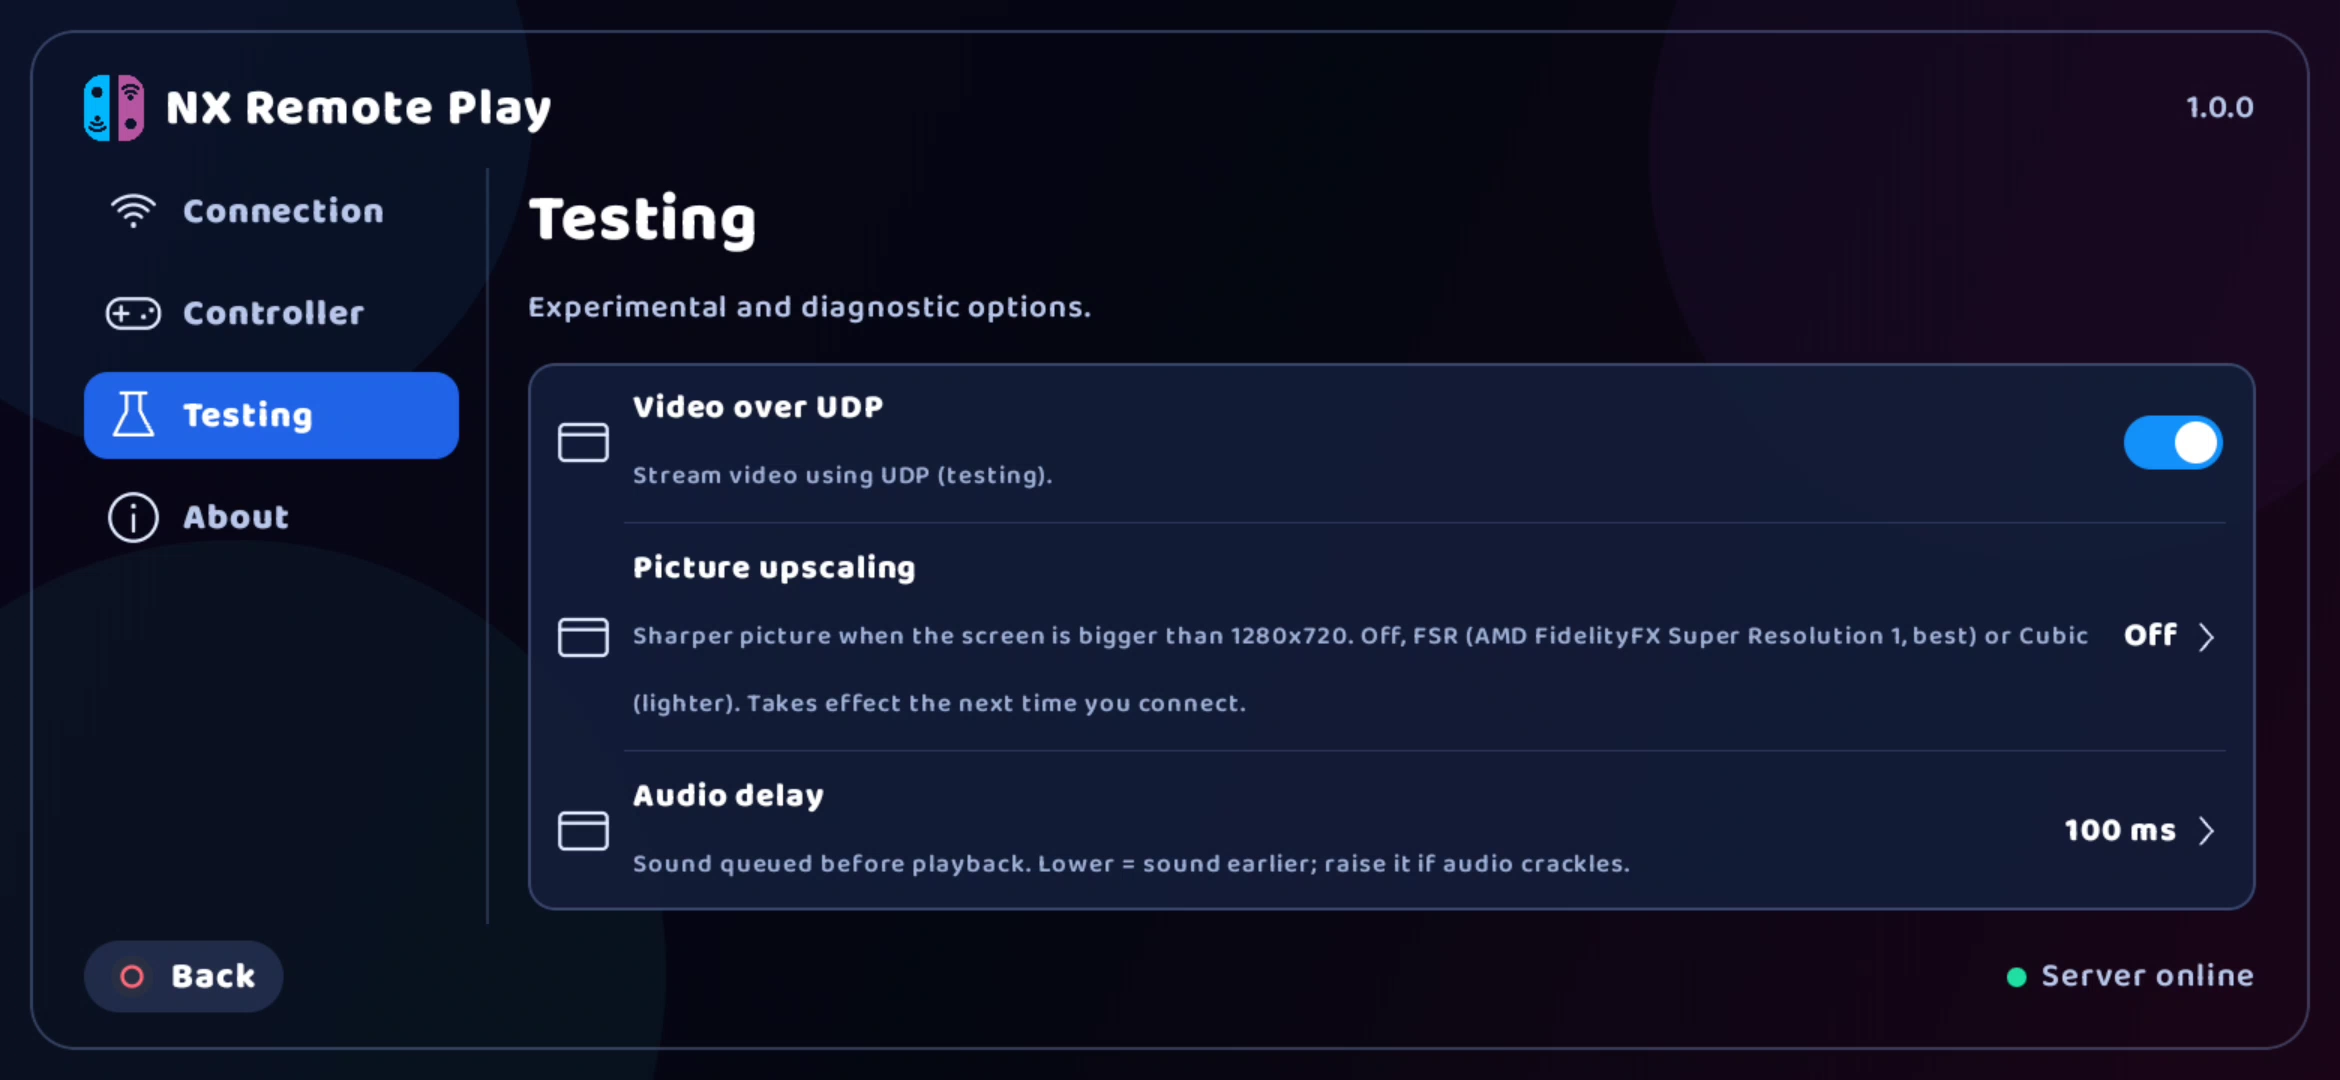
- Video over UDP: a different way of sending video that’s still being tested. Leave it as it is unless you’re asked to try it.
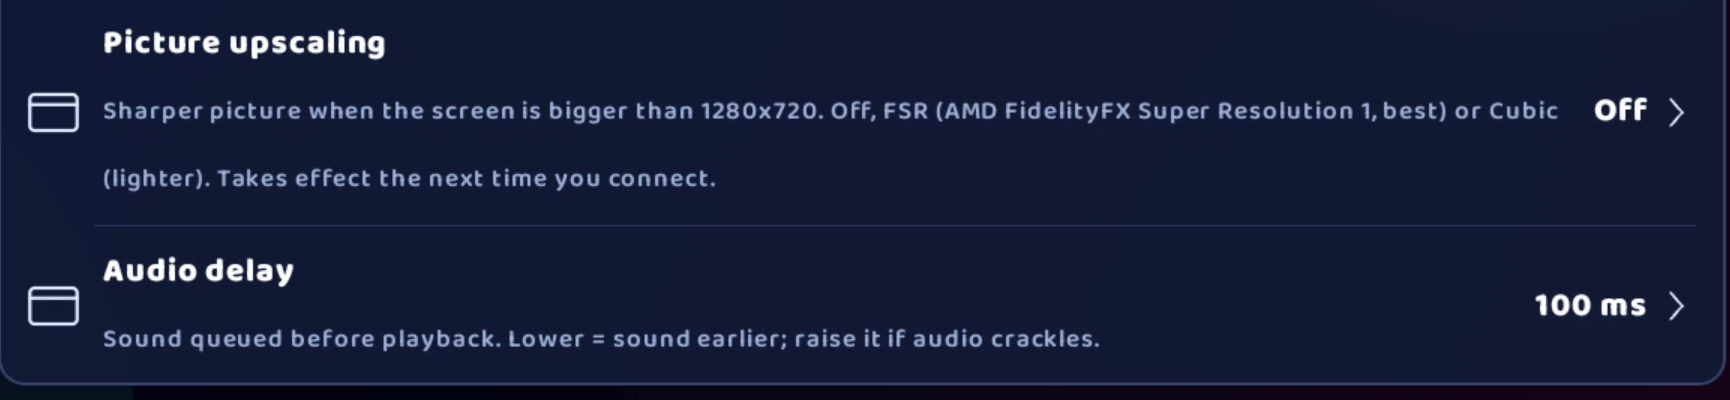
- Picture upscaling: Off is the normal picture. FSR makes an enlarged picture look sharper, and Cubic is a lighter version. It doesn’t add detail the Switch didn’t send. Reconnect after changing it.
- Audio delay: how much sound is held back before playing. It starts at 100 ms. If the sound crackles, raise it. Lower numbers bring the sound closer to the picture.
About
- App version, Connection and Video: details about the app, useful when asking for help.
- Export logs: on Android 10 and later, saves a diagnostic ZIP to Downloads/NX-Remote-Play. End the problem session first, then export and review the files. Follow the log collection and GitHub issue steps, including what to do on Android 7–9.
On Android 10 and later, ending a session can also save a diagnostic ZIP in Downloads/NX-Remote-Play.
When you’re done
Tap ☰ → Exit. If nobody else should join, choose Turn Off Hosting on the Switch.