 NX Remote Play
Switch app
Share your Switch, manage who can join, and play one Switch from another.
Every session starts on a Switch. This page covers the Switch app from start to finish: sharing your Switch, managing who can join, playing another Switch, and the app’s settings.
Open the app
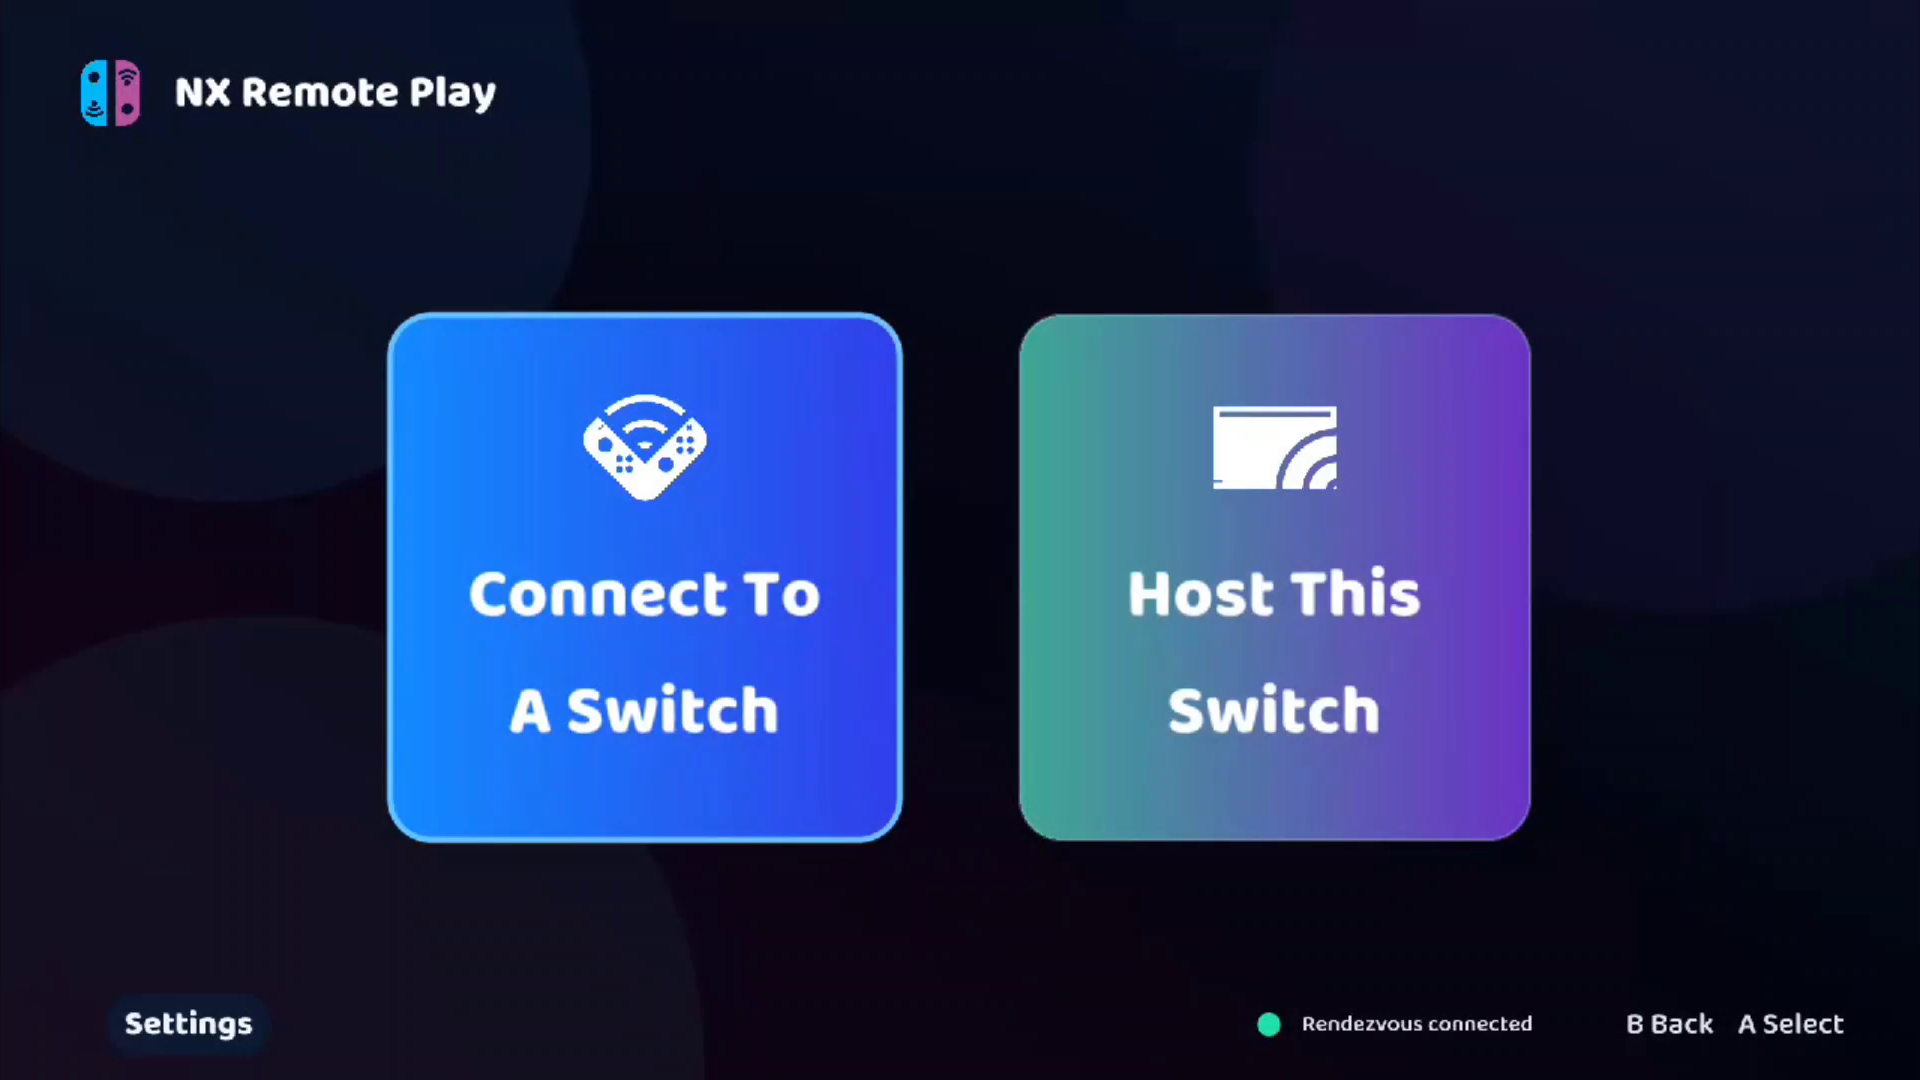
Open NX Remote Play from the HOME menu’s homebrew launcher. The start screen has two cards. Host This Switch shares this Switch. Connect To A Switch plays a different Switch on this one. Settings is at the bottom.
Share your Switch (hosting)
- Choose Host This Switch.
- If the button says Turn On Hosting, select it. If it says Turn Off Hosting, hosting is already on.
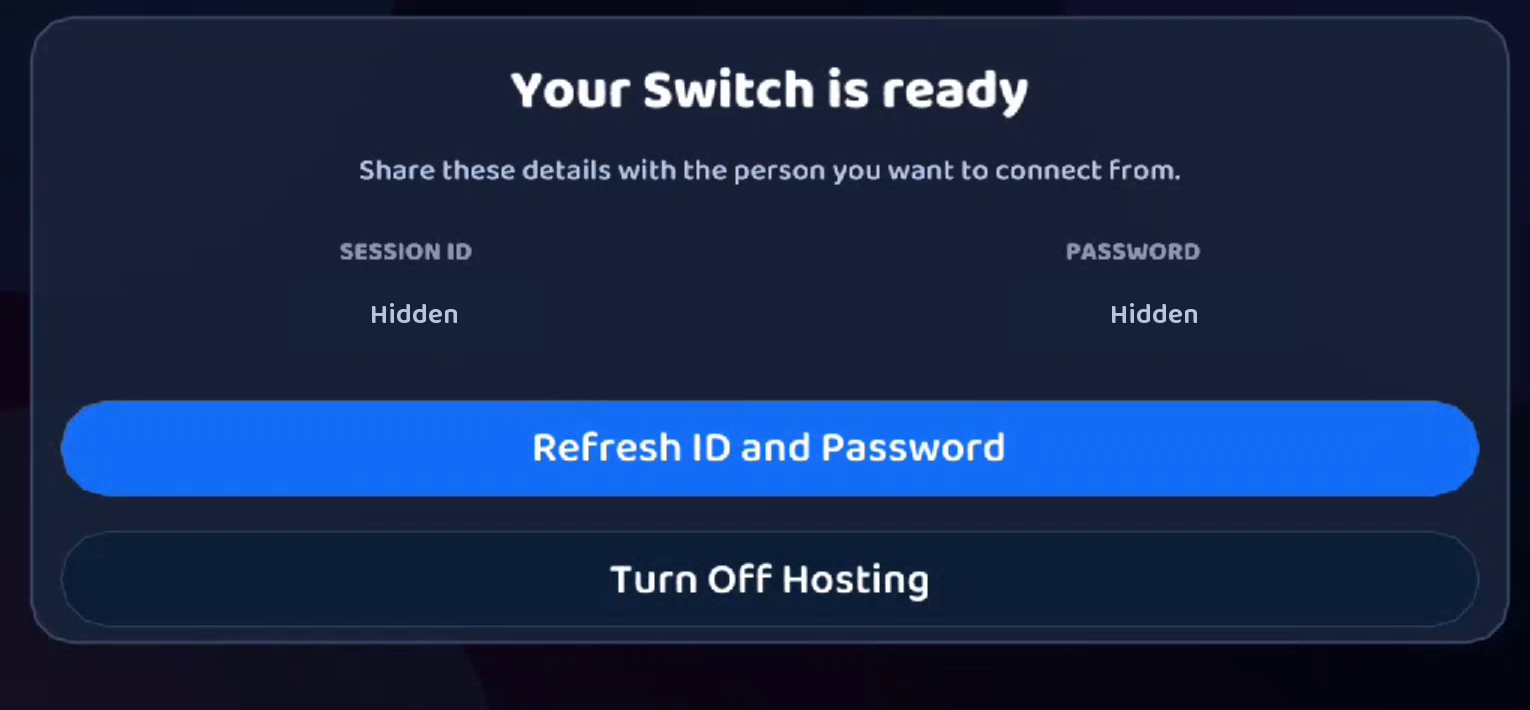
- The screen shows Your Switch is ready, with this Switch’s Session ID and Password.
- Type those codes into the viewer: the Android app, the Windows app or another Switch.
Hosting keeps working after you leave the app and start a game. You don’t need to keep the app open: the part that shares the screen runs in the background from the moment the Switch starts. Turn hosting off when you don’t want anyone joining.
When a viewer joins, they get their own controller on the Switch. If a game doesn’t react to it, open Controllers → Change Grip/Order on the Switch and have the viewer press L and R together.
Manage who can join
Both buttons are on the host screen.
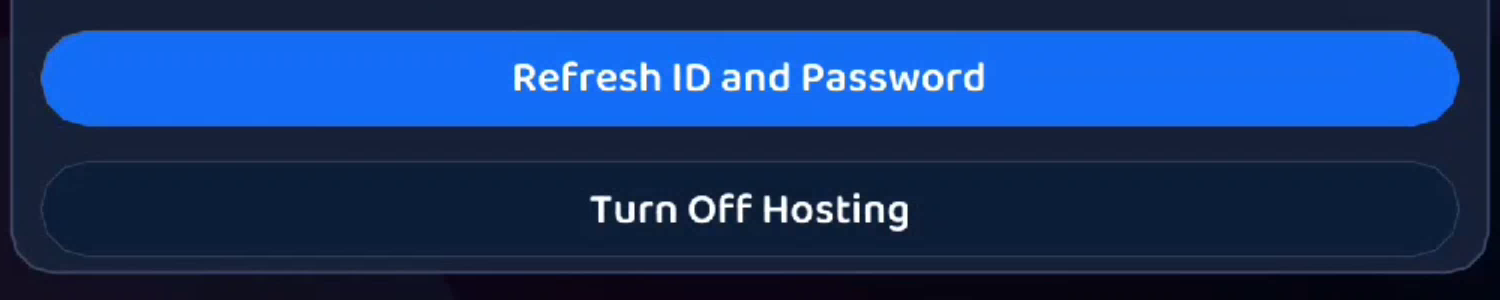
- Refresh ID and Password makes new codes. Anyone with the old codes can’t join any more. Give the new codes to the people you still want playing.
- Turn Off Hosting stops anyone new joining until you turn it back on. Your codes stay the same.
Otherwise the codes stay the same for 60 days, so a friend can keep using them. After 60 days the Switch makes new ones by itself. Check the host screen and share the new codes.
Play another Switch from this one
- On the host Switch, turn on hosting and note its Session ID and Password.
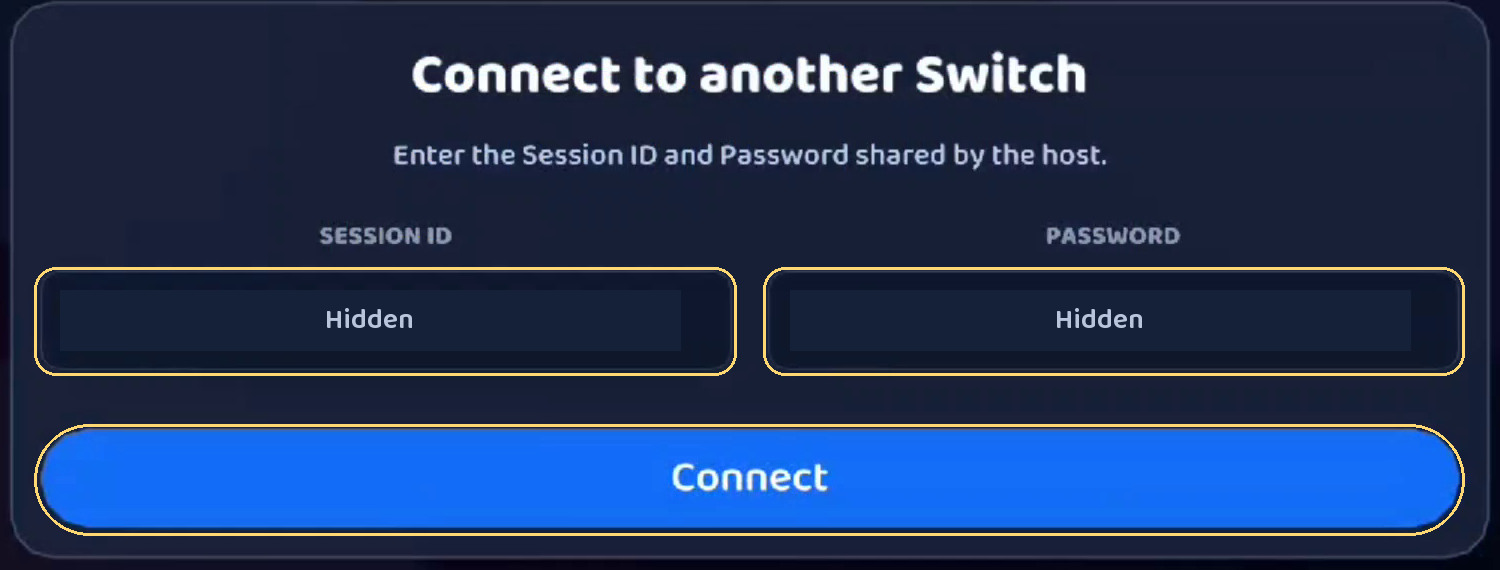
- On this Switch, open NX Remote Play and choose Connect To A Switch.
- Enter the host’s Session ID and Password with the on-screen keyboard.
- Choose Connect. The other Switch’s screen appears.
While you’re viewing:
- Passthrough decides where your buttons go. It starts on, so your controller plays the other Switch. Hold L + R + ZL + ZR for just over half a second to turn it off, and your buttons work this app’s menus instead. Hold them again to turn it back on.
- Hold − and + together to press HOME on the other Switch.
- The floating circle with three lines opens a menu with Home, Passthrough and Exit. Tap it on the touch screen at any time. A green ring around it means passthrough is on. You can drag it out of the way, and it remembers where you put it.
- Exit ends the session and returns to the start screen.
Switch app settings
Open Settings from the start screen. You don’t need to change anything to play.
| Setting | What it does |
|---|---|
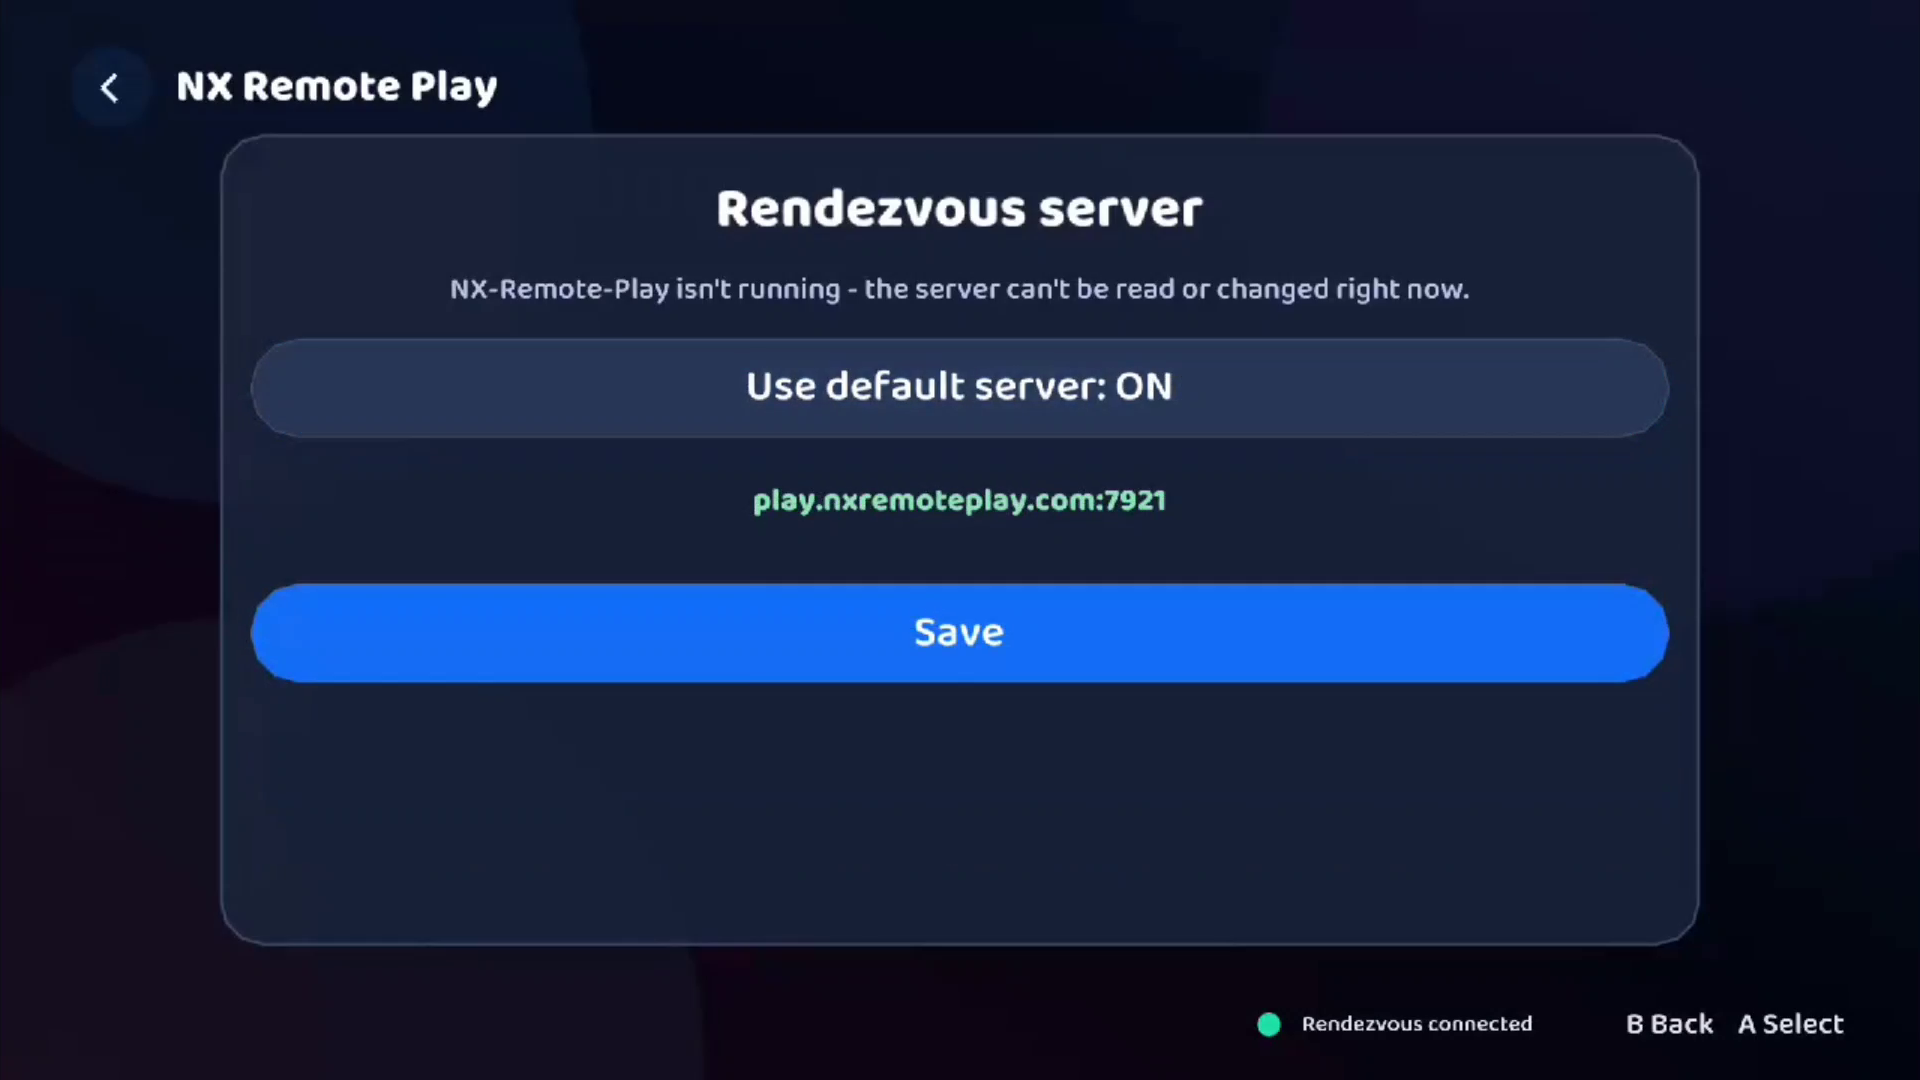
| Rendezvous server | The connection server this Switch uses. Leave it as it is unless you run your own server. If you change it, viewers must use the same server. Choose Save, and the Switch registers with the new server. |
| System patches | Shows whether the system patches are installed. They let most games that normally block streaming be streamed. A few games are reported to crash with them. They come with the SD card files and take effect after a restart. To turn them off, delete the files in /atmosphere/exefs_patches/am/. |
| Export logs | Under Settings → Actions, choose Export logs → Create log file to save /NX-Remote-Play-logs.txt to the SD card root. Each export replaces that file. Review it before uploading; developer and connection logs can contain network addresses. Follow the copying and GitHub issue steps. |