 NX Remote Play
Windows app
Play over the internet or USB, capture, stream to OBS, and share your Switch with others.
The Windows app plays your Switch on a PC, and it does the most. It connects over the internet or a USB cable, records and screenshots, sends your game to OBS or Discord, and shares a USB-connected Switch with other people. This page follows the app from opening it to its last setting.
Open the app
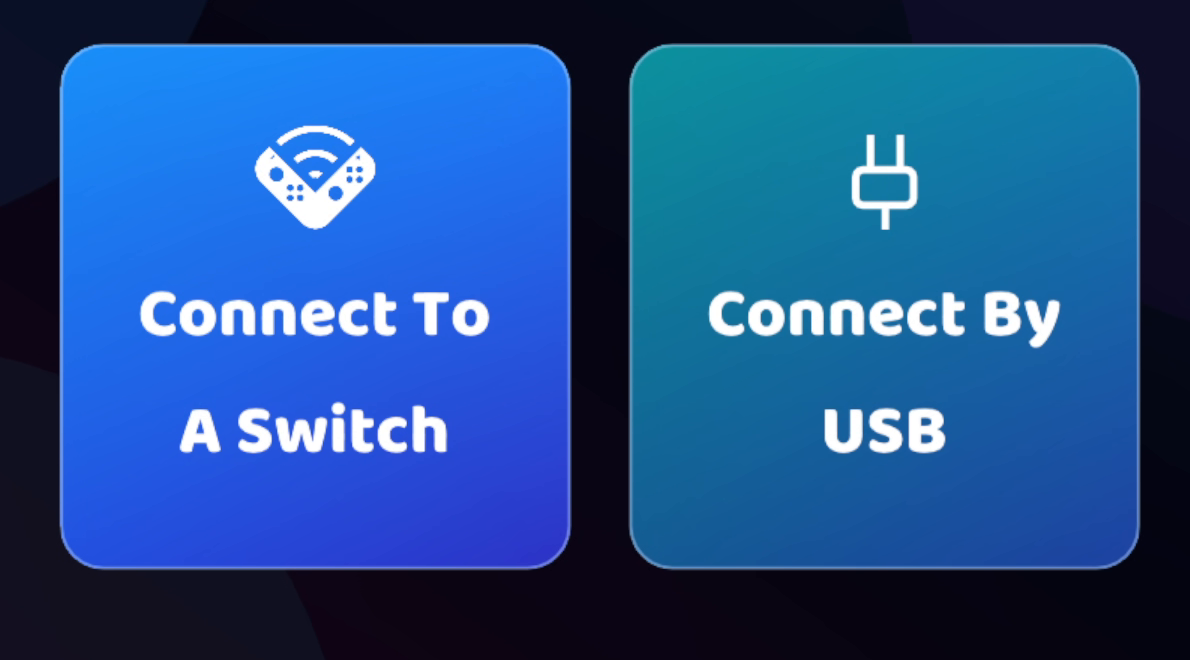
Open the Desktop-Windows folder from the package and run NX-Remote-Play.exe. Keep the whole folder together, because the app needs the other files in it. The start screen has two cards, Connect To A Switch and Connect By USB, with Settings in the bottom corner and the connection status opposite it.
Connect over the internet
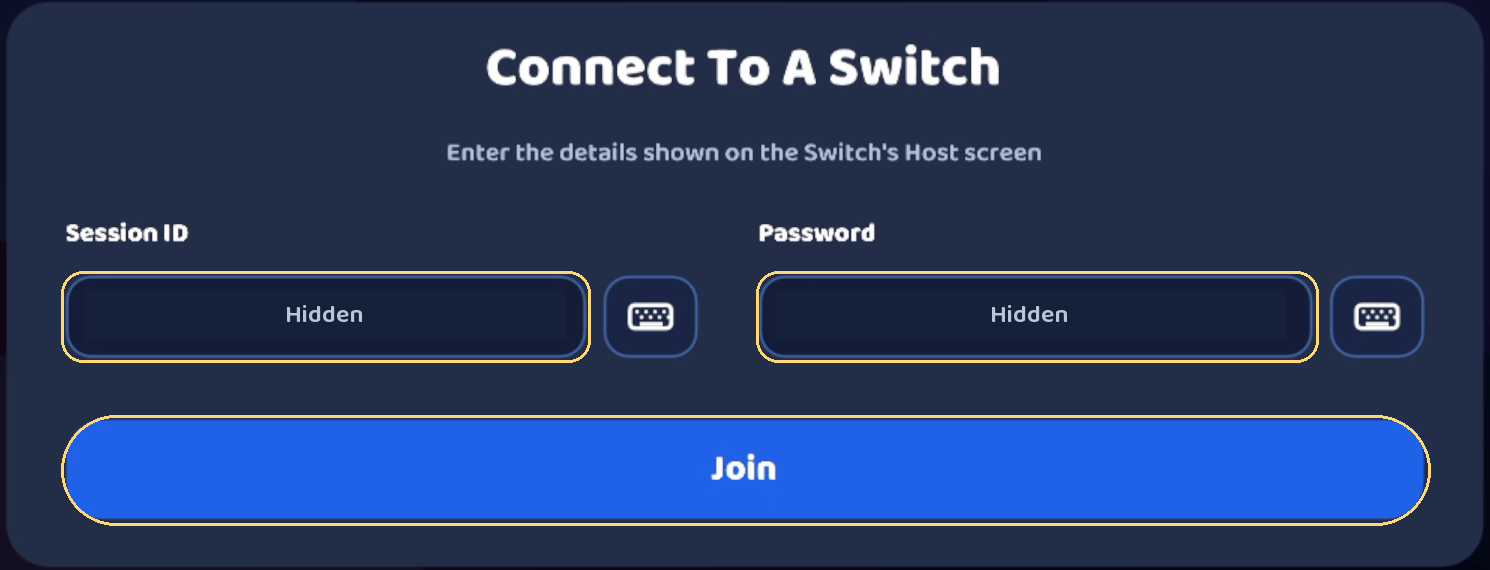
- On the Switch, turn on hosting and find its Session ID and Password. The Switch page of this wiki shows how.
- In the Windows app, click Connect To A Switch.
- Type the Session ID and Password, then click Join.
- The Switch’s picture and sound start. Plug in a controller and press a button to play.
Connect with a USB cable
- Plug the Switch into the PC with a USB cable that carries data. Some cables only charge, and those won’t work.
- The app opens the Switch by itself, because Automatically open USB Switch is on. If it doesn’t, click Connect By USB.
- The first time, the app may offer to install a USB driver. Accept it and approve the Windows prompt.
If you disconnect a USB session yourself, it stays closed until you click Connect By USB again. Unplugging and replugging the cable also opens it again.
While a Switch is plugged in by USB, the app can share it with other people. The sharing section further down this page explains how.
The player screen
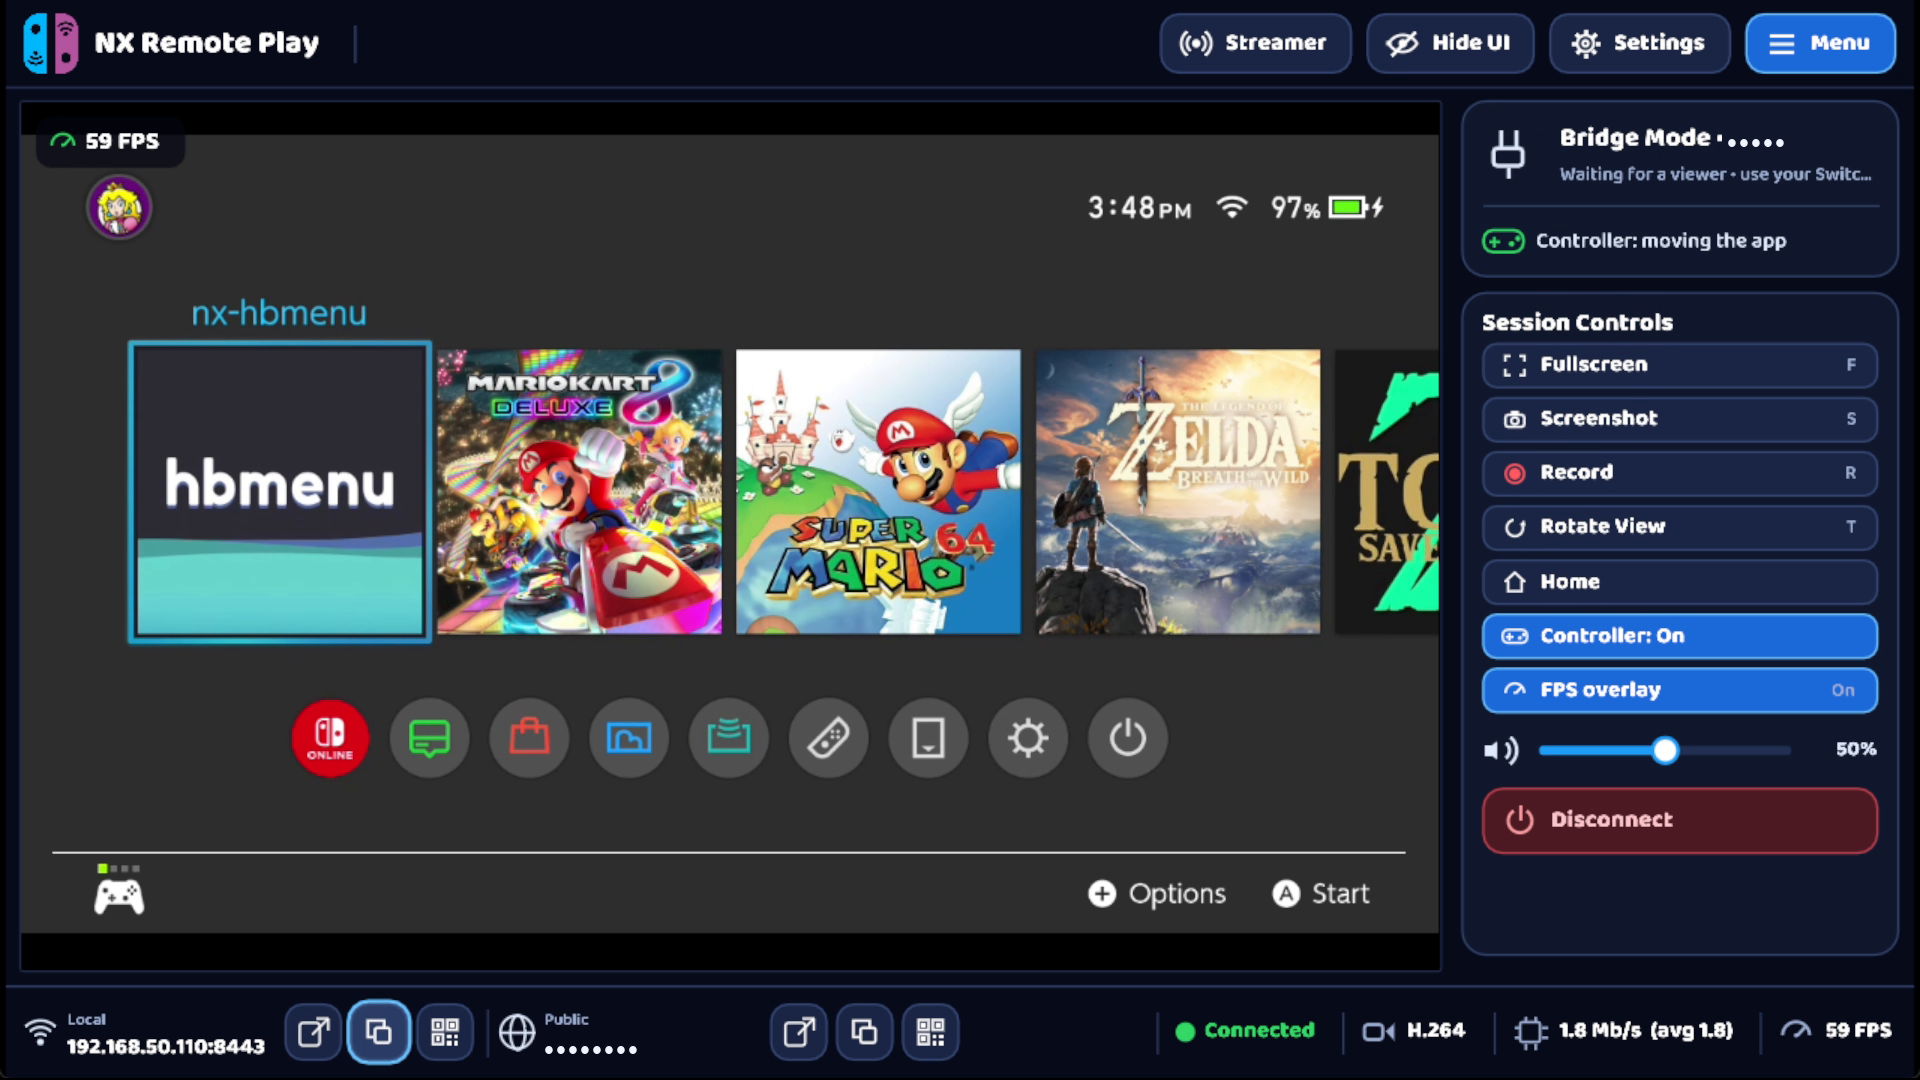
Once connected, the game fills most of the window. Around it:
- The top toolbar has Streamer, Hide UI, Settings and Menu.
- Menu opens the side panel: Fullscreen, Screenshot, Record, Rotate View, Home, Controller: On/Off, FPS overlay, a volume slider and Disconnect. It also shows how you’re connected and which controller is in use.
- The bottom bar shows the connection status, the video format and the frame rate. When a Switch is shared, its Local and Public links appear here too.
| Control | Key | What it does |
|---|---|---|
| Fullscreen | F | Fills the screen. Esc leaves fullscreen. |
| Screenshot | S | Saves the game picture as a PNG. |
| Record | R | Starts an MP4 recording. Press again or choose Stop Recording to finish it. |
| Rotate View | T | Turns the picture a quarter turn, for games played sideways. |
| Hide UI | H | Hides everything but the game. Press H again to bring it back. |
| Home | Presses HOME on the Switch. | |
| Controller: On/Off | Sends your controller to the Switch, or stops sending it. | |
| FPS overlay | Shows how many frames per second are arriving. | |
| Volume | Up / Down | Changes the volume of this session. |
| Disconnect | Ends the session. |
The keys work while Enable hotkeys in the player view is on, which it is unless you change it. H always works.
Play with a controller
Plug in or pair a controller with the PC (Xbox, PlayStation and most others work) and press a button. It acts like a controller plugged into the Switch. Controller: On/Off in the side panel turns this on and off while you play. The setting behind it is Forward desktop gamepad during remote play.
The big round button in the middle of your controller is the Guide button. You choose what it does in Settings → Playback & Controls:
| Guide button setting | What pressing it does |
|---|---|
| Home (the default) | Presses HOME on the Switch. |
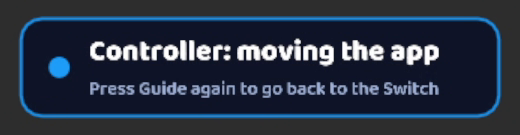
| App toggle | Switches your controller between playing the Switch and moving around this app. A notice says which one is active. |
| Tap / hold | A quick tap presses HOME. Holding it for half a second switches between the Switch and the app. |
While the controller is moving the app, nothing reaches the Switch. In fullscreen, a side panel with every control appears so you can use it with the controller. If the Guide button does nothing, Windows may be keeping it for the Xbox Game Bar. Turn the Game Bar off in Windows settings.
Share your Switch with other people
When your Switch is plugged into the PC by USB, the Windows app becomes its home base. This is called Bridge Mode, and the status in the side panel shows it. You keep playing on the PC with everything on this page: the best picture, recording, screenshots and the virtual camera. The PC also becomes the Switch’s bridge to everyone else.
Why that helps remote players: the Switch’s built-in Wi-Fi can only send so much, especially to faraway players or several people at once. In Bridge Mode the Switch sends one stream down the USB cable, and the PC’s stronger connection passes it on. Remote players get a smoother, steadier picture, and you get extras the Switch can’t do alone: browser play, Public links and more viewers.
Up to three people can join at once, in apps or browsers, each with their own controller. Your own controller on the PC keeps working too.
Friends with the app
Nothing changes for them. They join from the Android, Windows or Switch app with your Switch’s usual Session ID and Password, and the PC answers instead of the Switch. The Switch’s own hosting rests while the PC does this, and picks up again when you unplug it.
A browser at home (Local link)
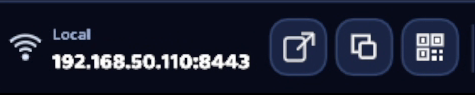
The bottom bar shows Local and an address, with Open, Copy and QR code buttons. On a phone on the same Wi-Fi, scan the QR code. On another computer, paste the copied link into a browser. The link only works on your home network.
A browser anywhere (Public link)
The bottom bar also shows Public. Copy that link and send it to a friend. They open it in any browser, anywhere, with nothing to install.
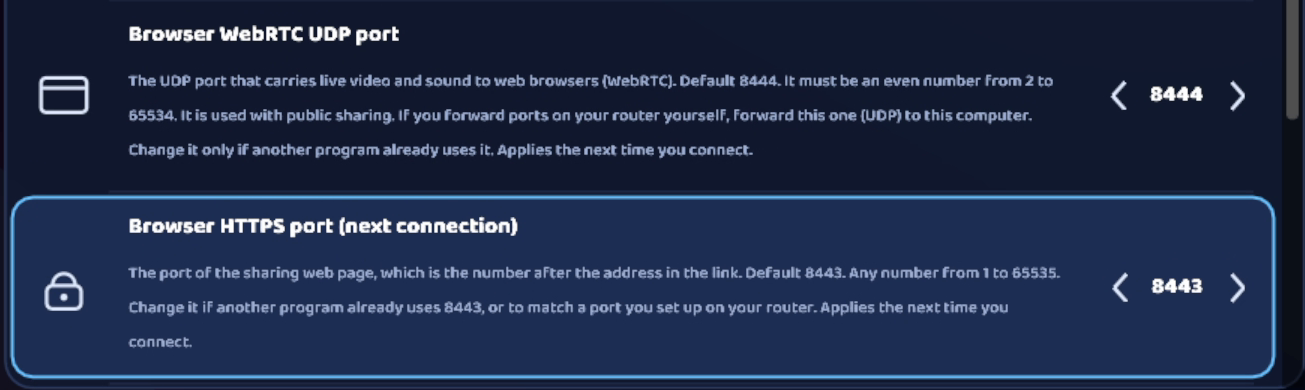
For a Public link to work from outside, your router must let two ports through to the PC: a web port (HTTPS, 8443 unless you change it) and a video port (UDP, 8444). Request router ports for browser sharing asks the router to open them by itself. If your router doesn’t support that, forward the two ports yourself in the router’s settings.

Things to know about links
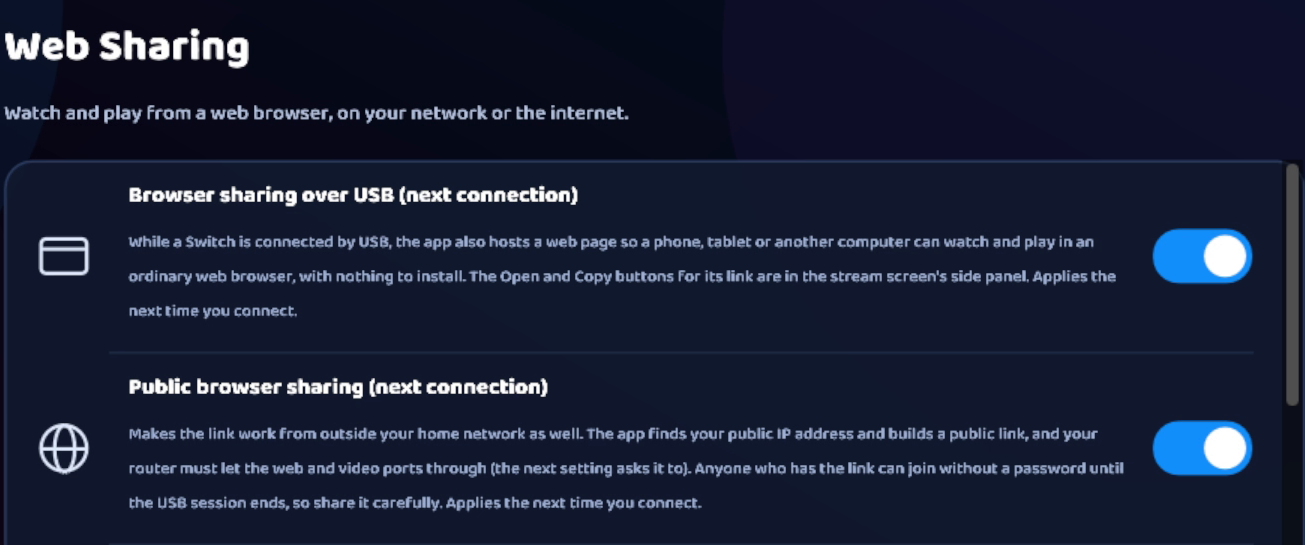
- Anyone with a link can join without a password until the USB session ends. Share links only with people you trust.
- The first time someone opens a link, their browser may warn that the page isn’t secure, because the app makes its own certificate. They can carry on. To remove the warning for Public links, turn on Automatic public-IP HTTPS certificate and accept the Let’s Encrypt agreement below it. That needs port 80 to be reachable for a moment while the certificate is issued.
- Sharing settings take effect on the next connection. After changing one, unplug the USB cable and plug it back in.
- Browser sharing and Public sharing are both on unless you turn them off. If you only play at home, you can turn Public browser sharing off.
Screenshots and recordings
Click Screenshot (or press S) to save the game picture as a PNG. Only the game is saved, not the app around it. Click Record (or press R) to record picture and sound to an MP4. A red dot and timer show while recording. Stop it the same way, and a notice tells you where the file went.
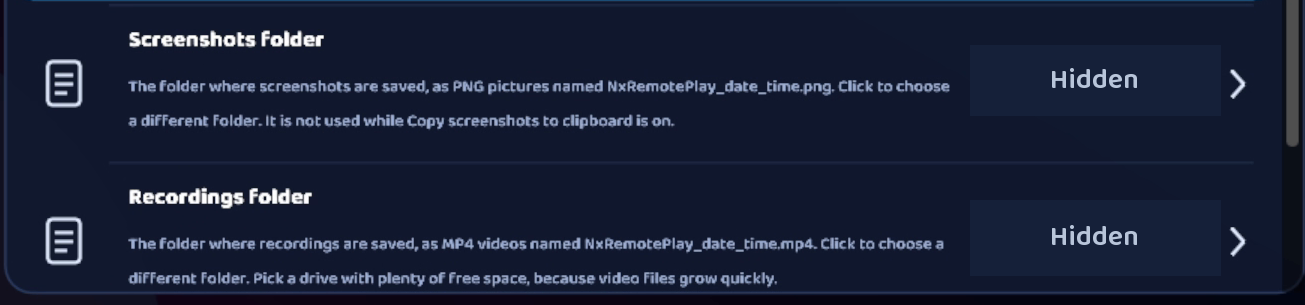
Choose where files go in Settings → General, with Screenshots folder and Recordings folder. Recordings get big, so pick a drive with space. Turn on Copy screenshots to clipboard to paste screenshots straight into a chat instead of saving them. Holding Shift while you take a screenshot does the opposite, just that once.

Send your game to OBS, Discord or Zoom
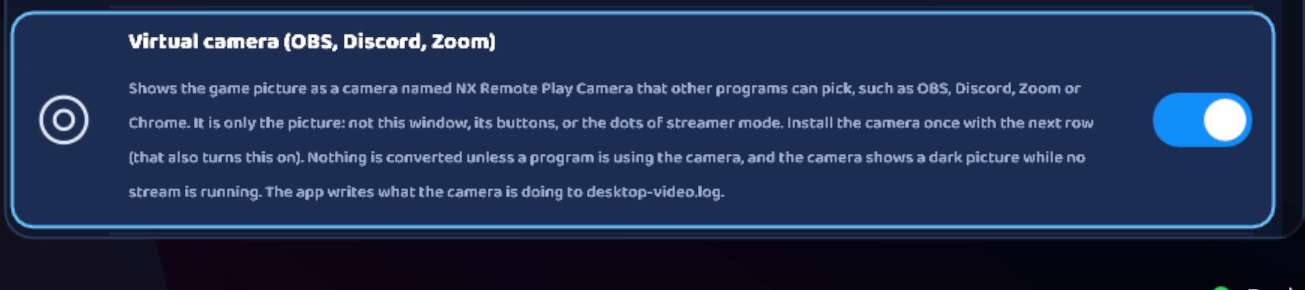
- Open Settings → Playback & Controls and choose Install the virtual camera. This doesn’t need administrator rights.
- Make sure Virtual camera (OBS, Discord, Zoom) is on.
- Restart the other program if it was already open, then pick NX Remote Play Camera as its camera.
- Connect to your Switch. Without a session, the camera shows a dark picture.
The camera sends only the game picture, without the app around it or Streamer mode’s dots. Sound has to be set up separately in the other program. If a program run as administrator (such as OBS) can’t see the camera, choose Install the camera for programs run as administrator and approve the Windows prompt. Windows privacy settings must allow apps to use the camera.
Hide private details on stream
Click Streamer in the toolbar before you show your screen on a stream or video. The Session ID, links and addresses turn into dots, and so do the code boxes while you type in them. Hide console serials from GUI in Settings → General also hides the Switch’s serial number. Both only cover what the app draws. Anything private inside the game picture still shows.

All settings
Settings has six tabs, listed here in the app’s order. You can play without changing any of them.
General
- Hide console serials from GUI: hides the Switch’s serial number in the app.
- Streamer mode: the same as the Streamer button. It hides codes, links and addresses.
- Screenshots folder and Recordings folder: where captures are saved.
- Copy screenshots to clipboard: copies screenshots instead of saving them.
Connection & USB
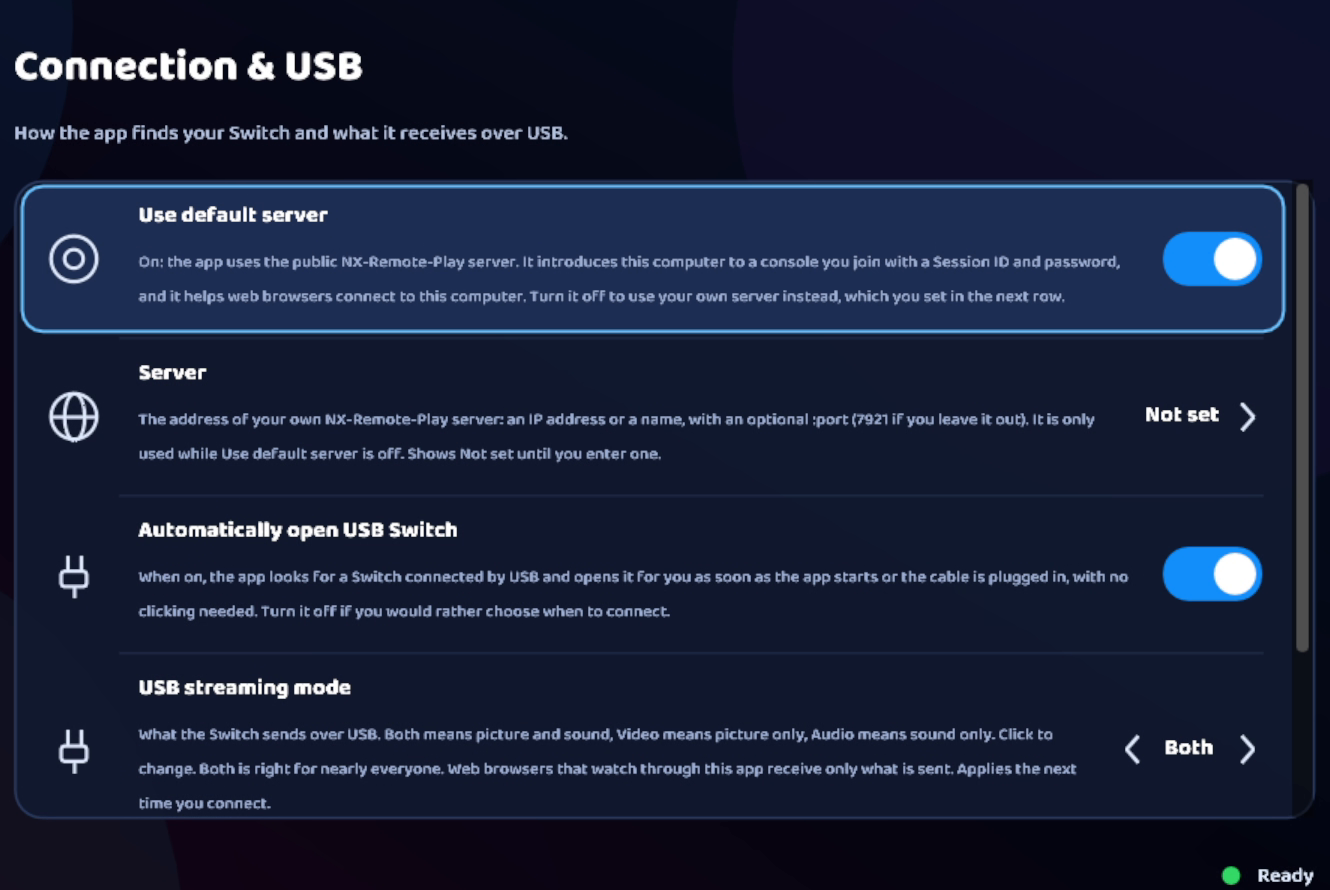
- Use default server and Server: which connection server to use. Leave the default on unless you run your own. The Switch must use the same server.
- Automatically open USB Switch: opens a plugged-in Switch by itself.
- USB streaming mode: Both (picture and sound, the default), Video or Audio. Browser viewers get whatever the USB session sends.
- Turn off console backlight during streaming: turns the Switch’s own screen off while you play on the PC. This is experimental. If the screen stays dark, press the Switch’s power button to lock and unlock it.
Playback & Controls
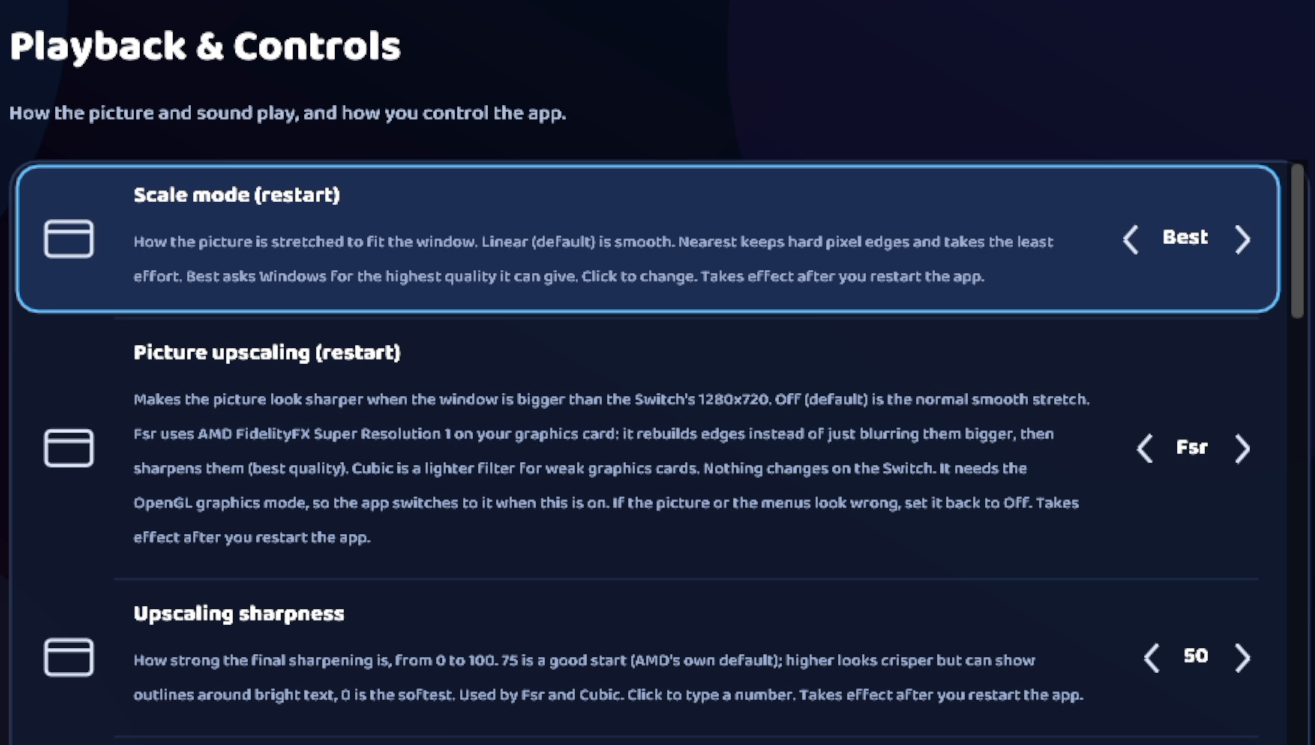
- Scale mode: how the picture stretches. Linear is smooth, Nearest keeps sharp pixels, and Best asks Windows for the highest quality. Restart the app after changing it.
- Picture upscaling and Upscaling sharpness: make a big window look sharper (Fsr, or the lighter Cubic). Restart after changing them. Set it back to Off if the picture or menus look wrong.
- Audio player mode: Auto is normal. Try Compatible if the sound crackles, has gaps or is missing, then reconnect.
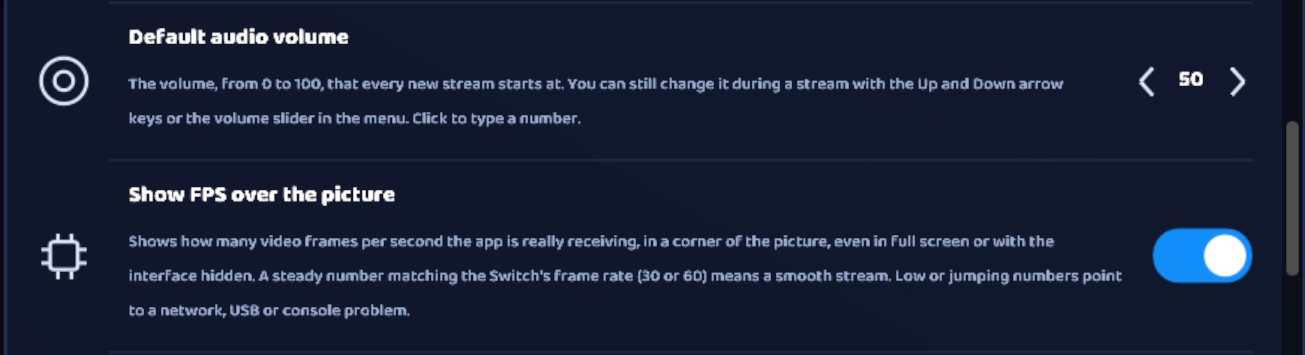
- Default audio volume: the volume every new session starts at.
- Show FPS over the picture: keeps the frame-rate counter on screen, even in fullscreen.
- Virtual camera, Enable hotkeys in the player view, Forward desktop gamepad during remote play, Control this app with a gamepad and Guide button: covered in the sections above.
Web Sharing
- Browser sharing over USB and Public browser sharing: the Local and Public links.
- Request router ports for browser sharing, Browser HTTPS port and Browser WebRTC UDP port: how Public links get through your router.
- Automatic public-IP HTTPS certificate, the agreement, and Trusted browser certificate PFX: remove the browser’s security warning, either automatically or with a certificate you already have.
Advanced & Performance
Leave these alone unless something is wrong. Force software rendering can fix a black, flickering or crashing window, but uses more CPU. Hardware decoder should stay Automatic. The framerate options change how often the PC redraws; they don’t make the Switch send more frames. The USB cache and batching options are for fixing specific USB problems.
Diagnostics & Logging
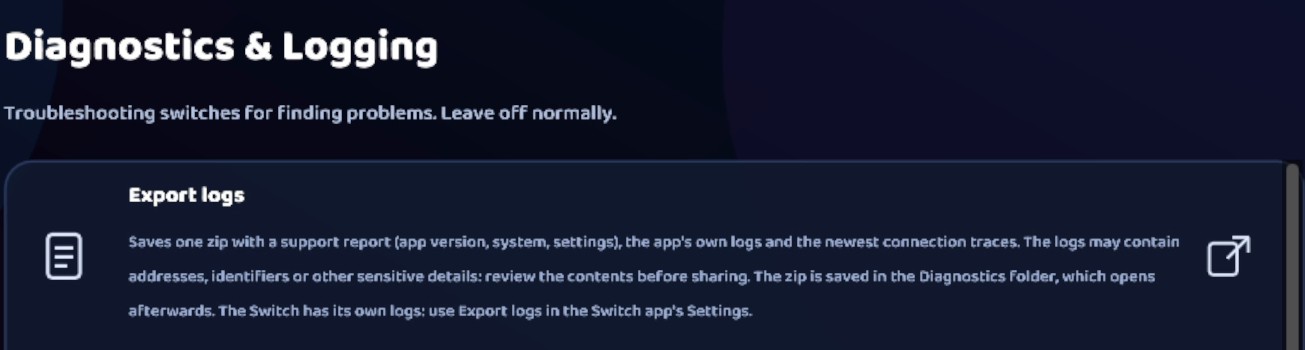
Export logs saves a ZIP with a support report, the app’s logs and recent connection details, then opens the Diagnostics folder. Reproduce the problem and stop the stream before exporting. Review the files before attaching them to a GitHub issue, because they can contain addresses or identifiers. Follow the log collection and issue-report steps. The other options here print extra detail for finding problems.
When a setting takes effect
- Straight away: volume, Hide UI, Streamer, FPS overlay and controller forwarding.
- On the next connection: USB streaming mode, audio player mode, backlight and every Web Sharing setting. Disconnect and connect again.
- After restarting the app: anything marked “(restart)”, such as scale mode and picture upscaling.